¶ System installation
Operation Steps:
Step 1:
Prepare an SD card and a card reader.
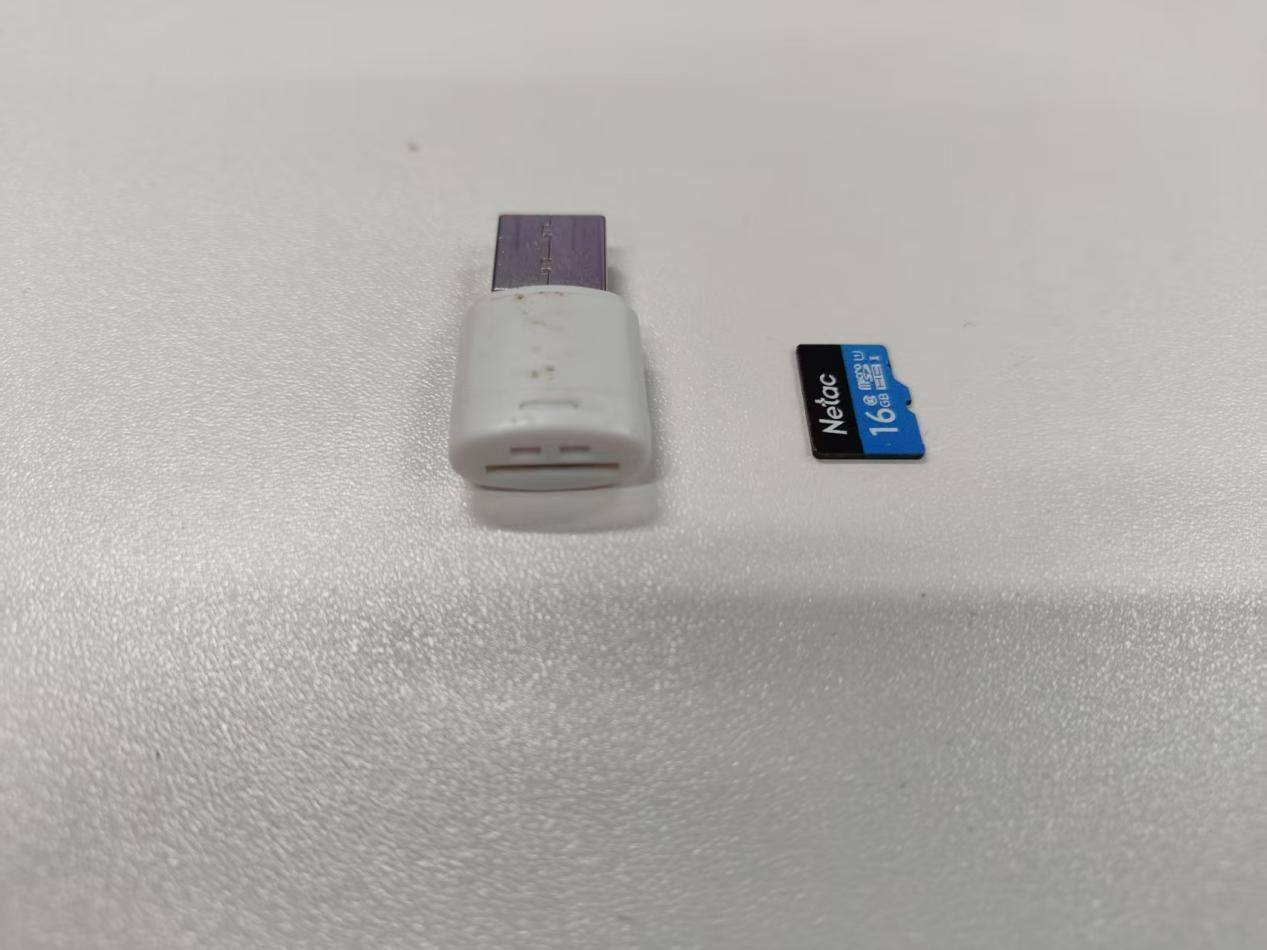
Requires user-provided card reader
SD card in the SD card slot on the motherboard.
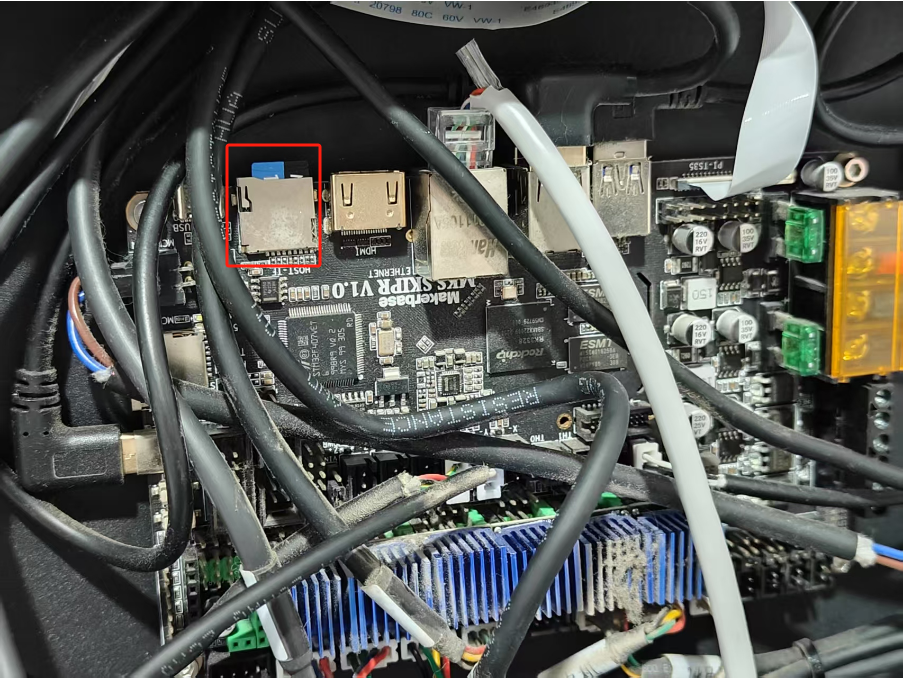
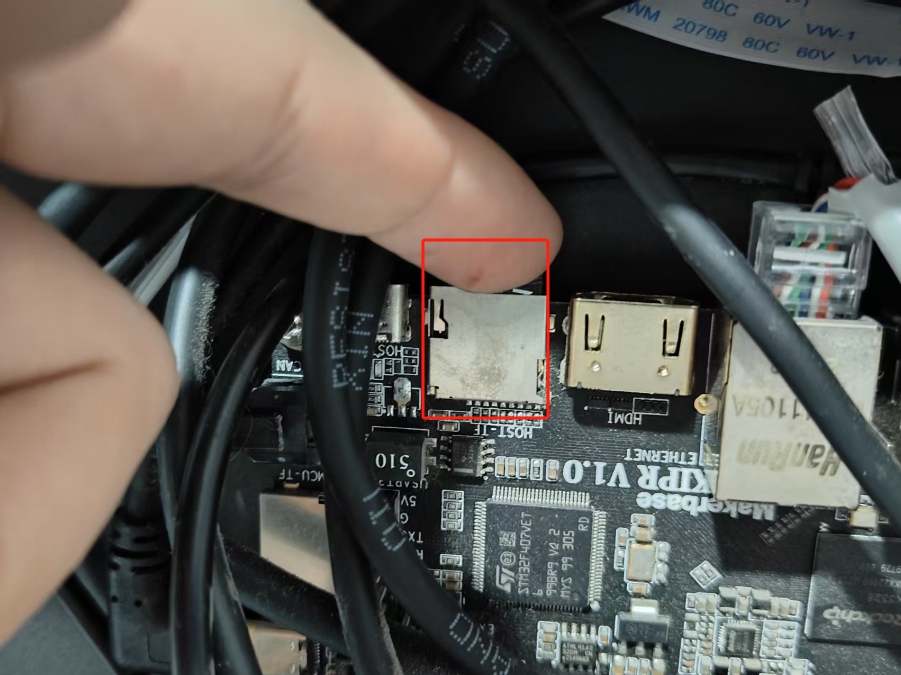
Remove by finger pressure.
Step 2:
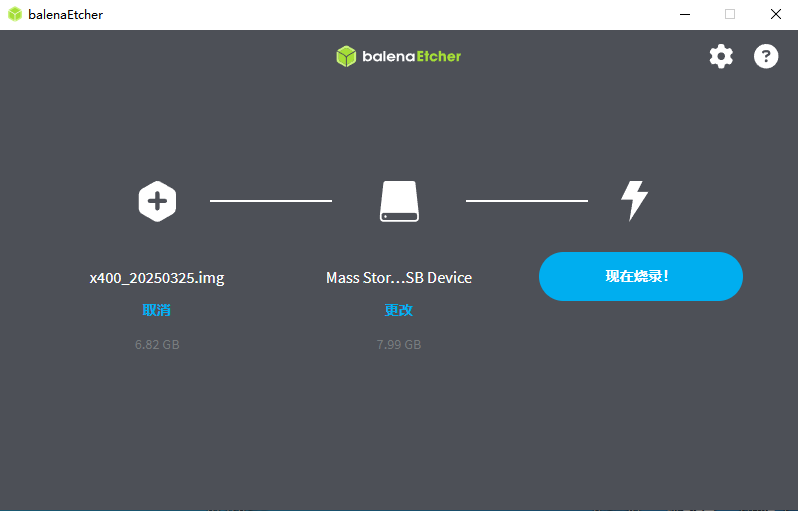
Download the machine system image file and burning software balenaEtcher
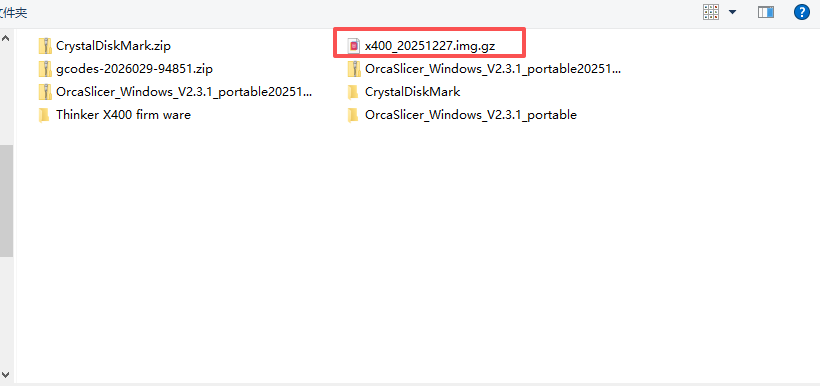
Machine system(E.g. x400_20250912.img.gz) download URL:
https://drive.google.com/drive/folders/1htD4KUY9WmH9W7UyBleRF0uzNoNothT1?usp=sharing
Burning Software Download Address:
https://etcher.balena.io/
Step 3:
Burn the downloaded image file to the SD card.
Step 4:
Insert the burned SD card back into the SD card slot of the printer.

Step 5:
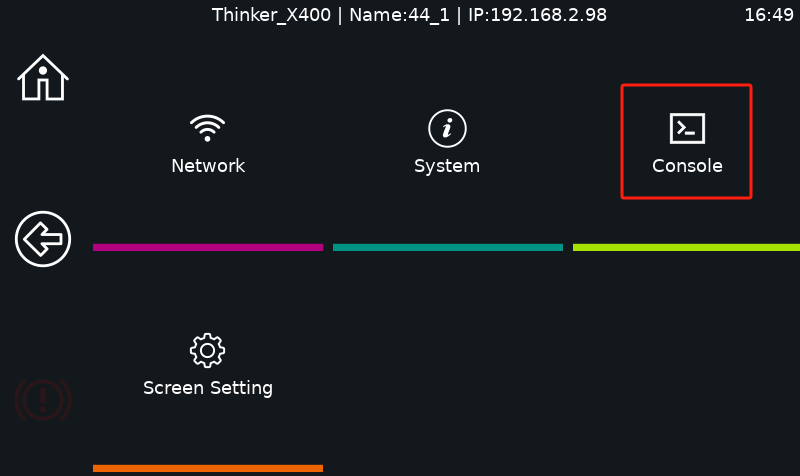
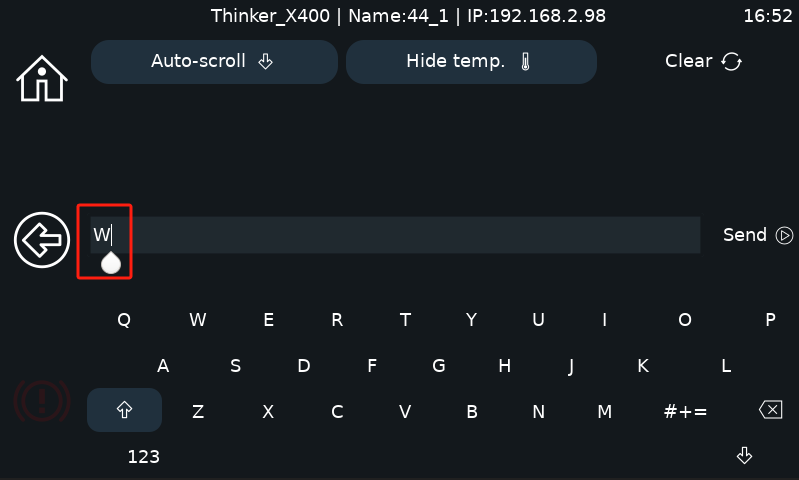
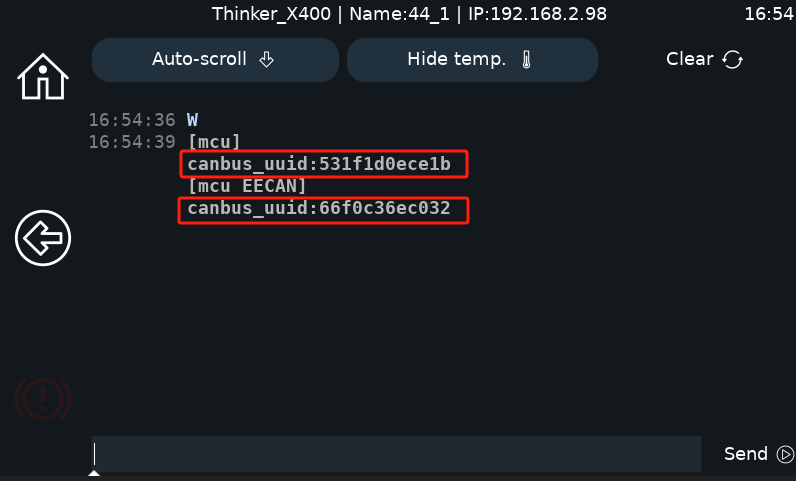
Start the printer and output a capital “W” on the console to get the CAN bus ID of toolhead board and mainboard
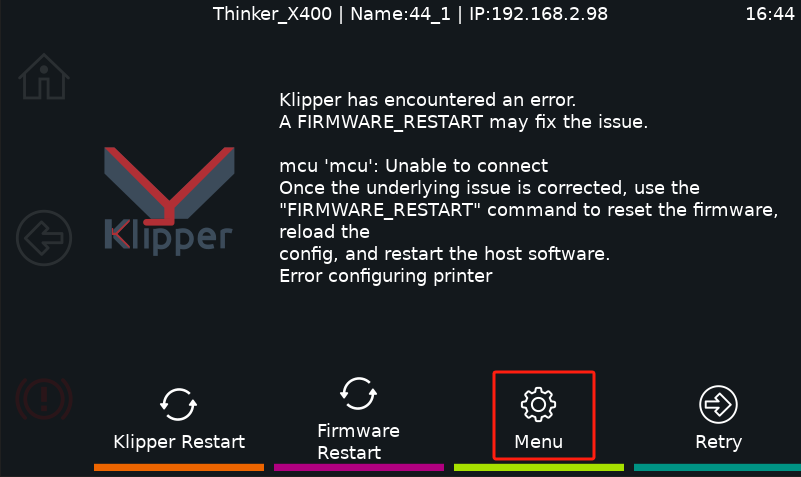
The printer will fetch the 2-line ID. if the console does not fetch the 2-line ID, you will need to turn off the printer and repeat step 5 until the 2-line ID appears.
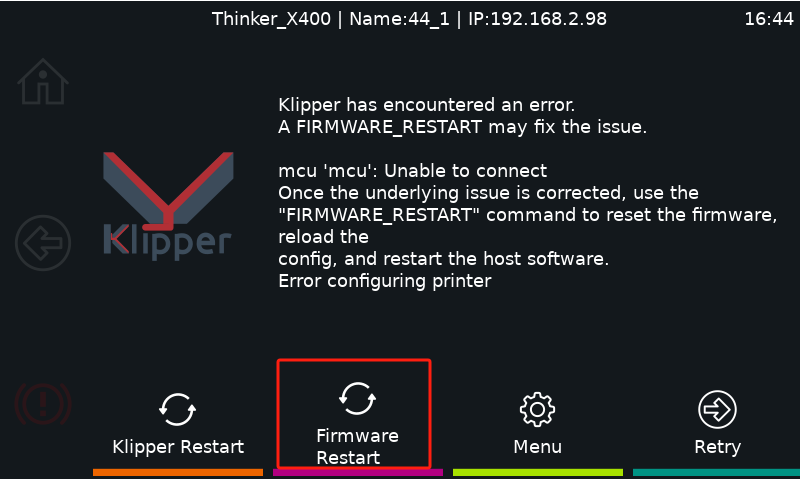
Step 6:
Return to the main page and click Firmware Restart.
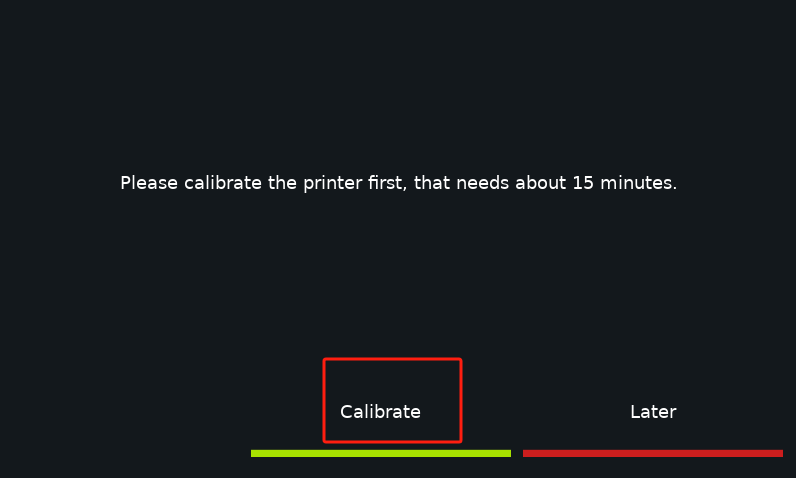
Step 7.
After clicking on it, a pop-up window will appear, it needs to be calibrated for 15 minutes, and after calibration, it can be used normally.
If the above software fails to burn the image, you can also choose to use a Raspberry Pi Imager for burning.
Download link:
https://www.raspberrypi.com/software/
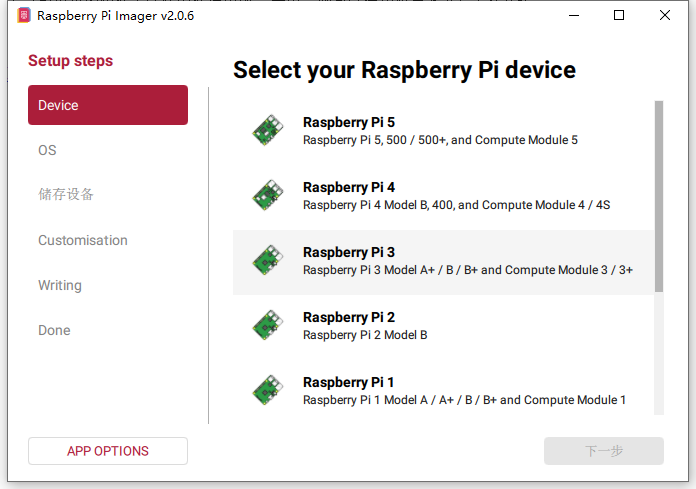
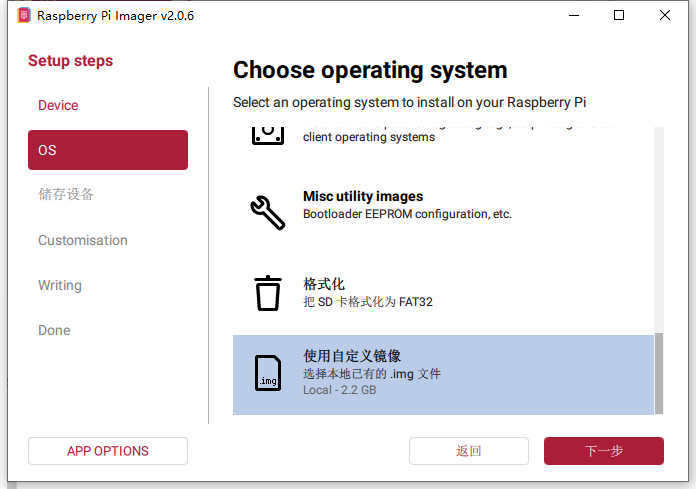
- Open the Raspberry Pi Imager
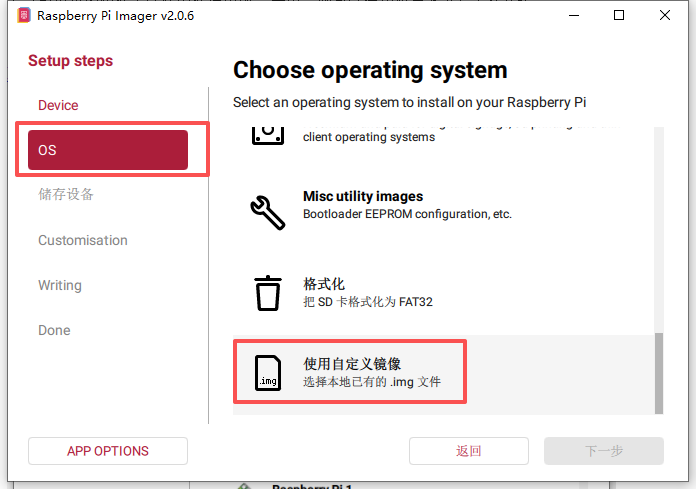
2.Click on OS and scroll down to find "Use custom image".
3.In the file selection menu, locate the image file.
- Click Next
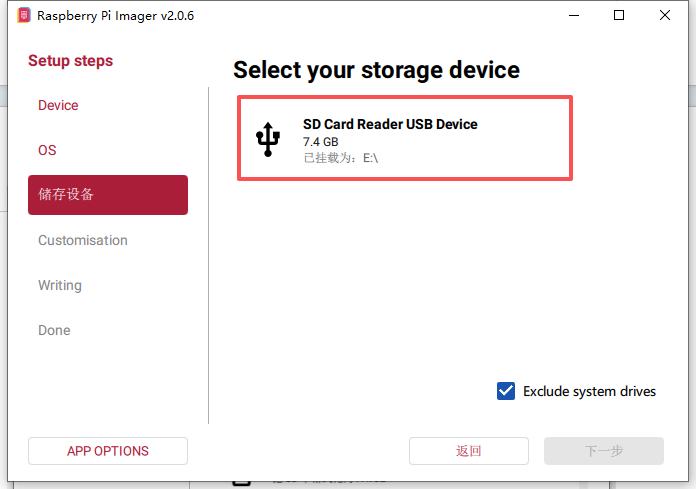
5.Select SD card
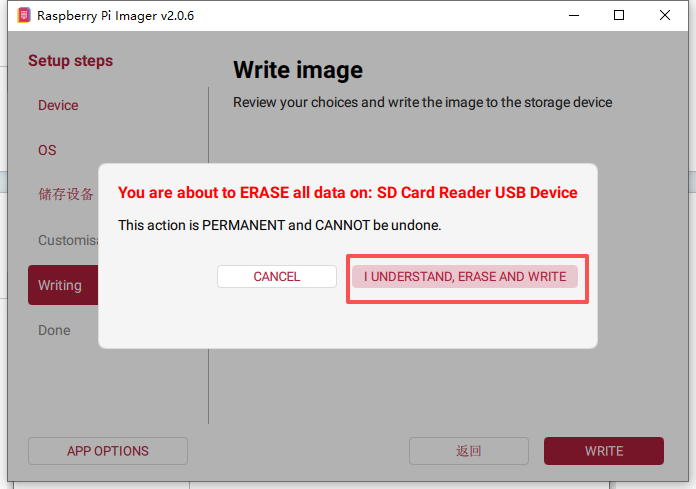
6.Click 'Write'
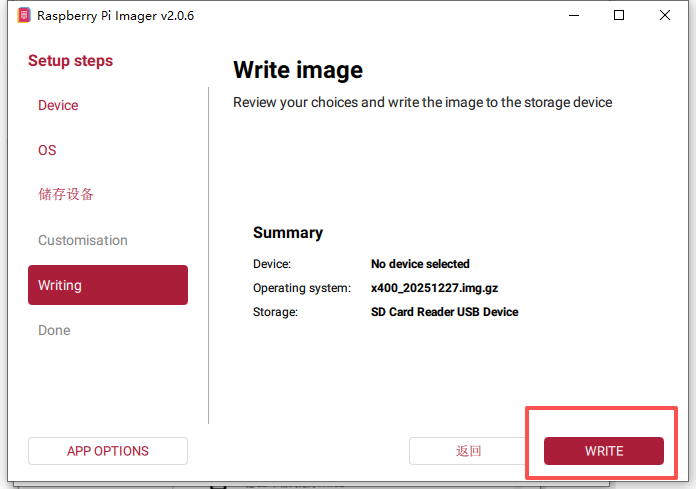
7.Confirm 'Write'
8.Writing
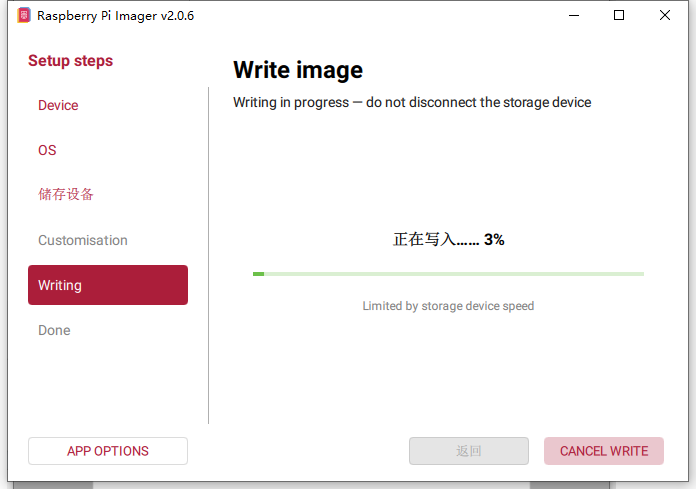
Then return to step 4 above.