¶ Hotend Upgrade to 350°C Assembly Process
Hotend Upgrade to 350°C Assembly Process
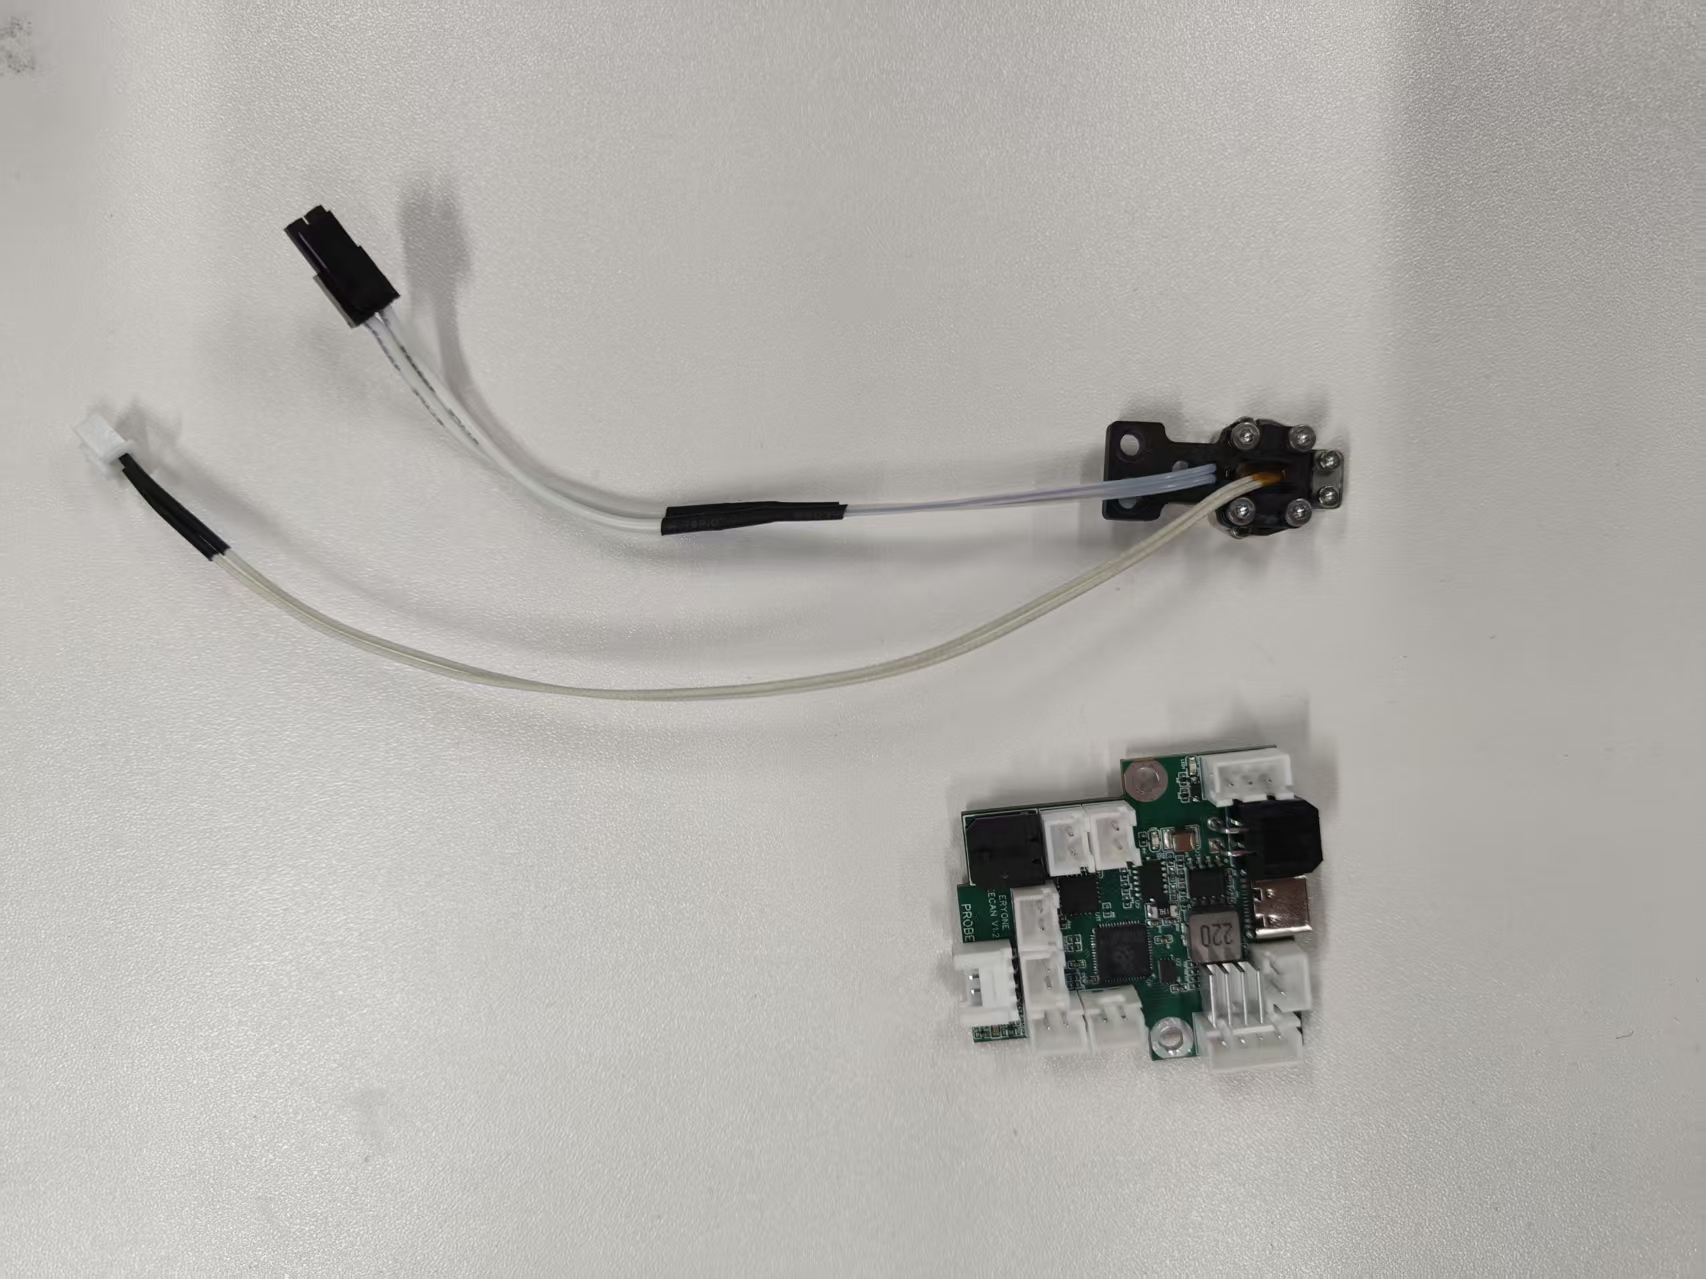
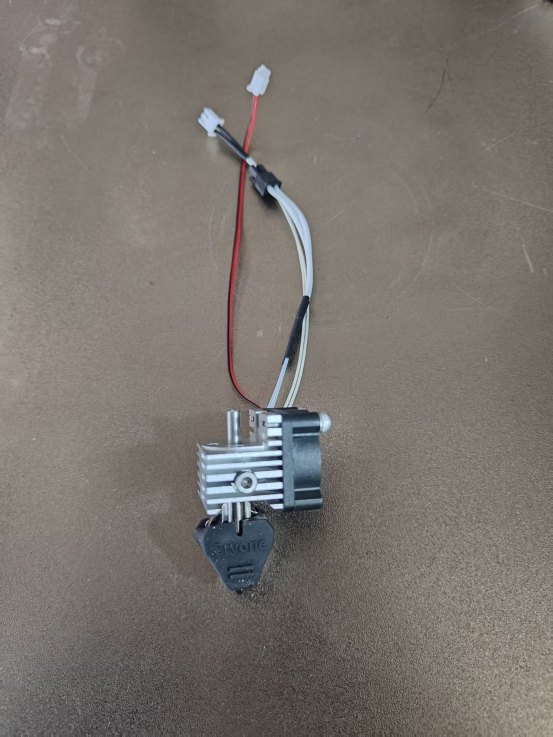
1.Prepare a Canbus adapter board (latest version) and a 350°C extruder heating module.
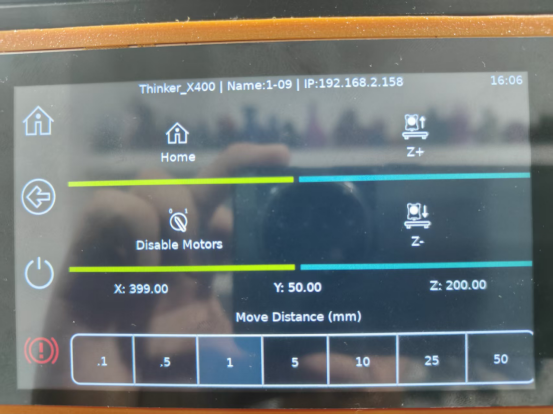
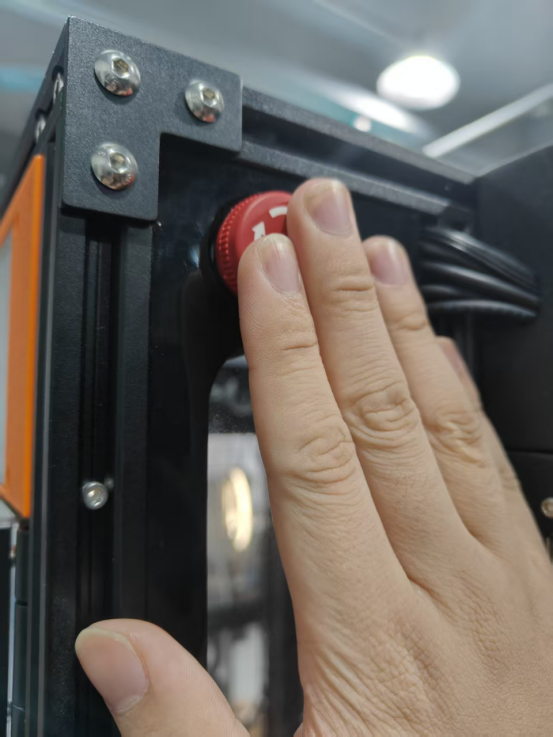
2.Raise the Z-axis by 200 mm.

3.Turn off the power.
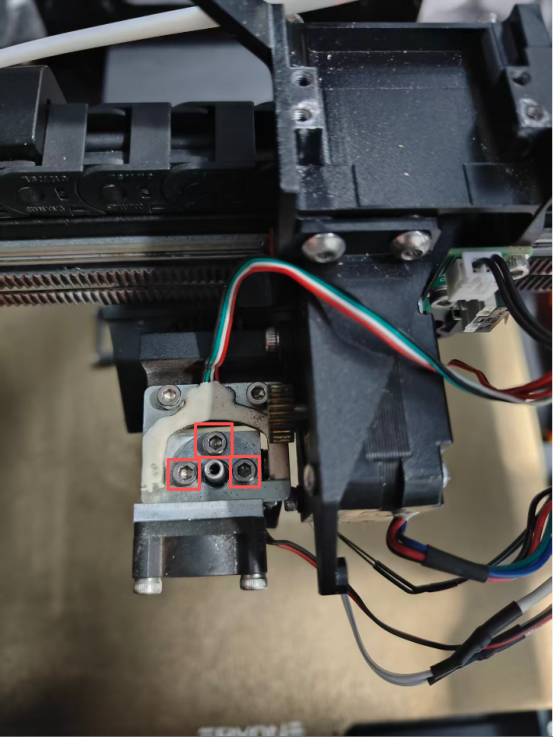
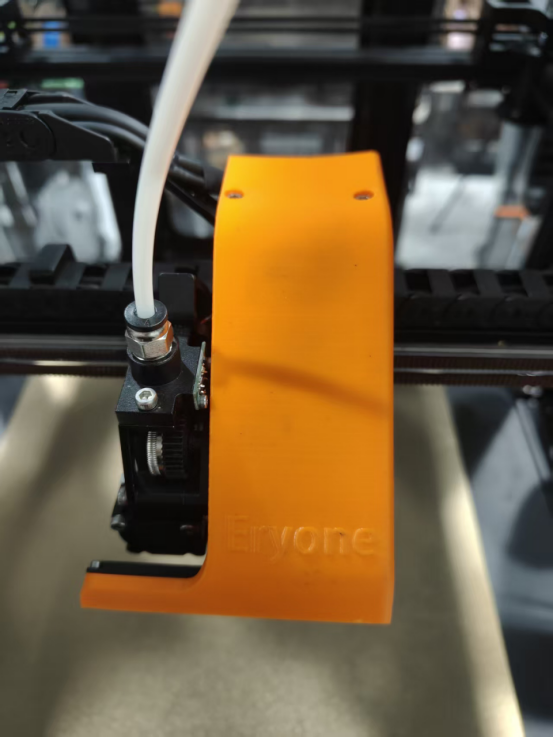
4.Remove the extruder bracket cover.
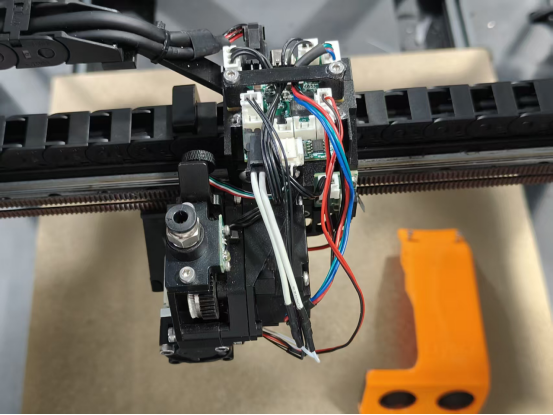
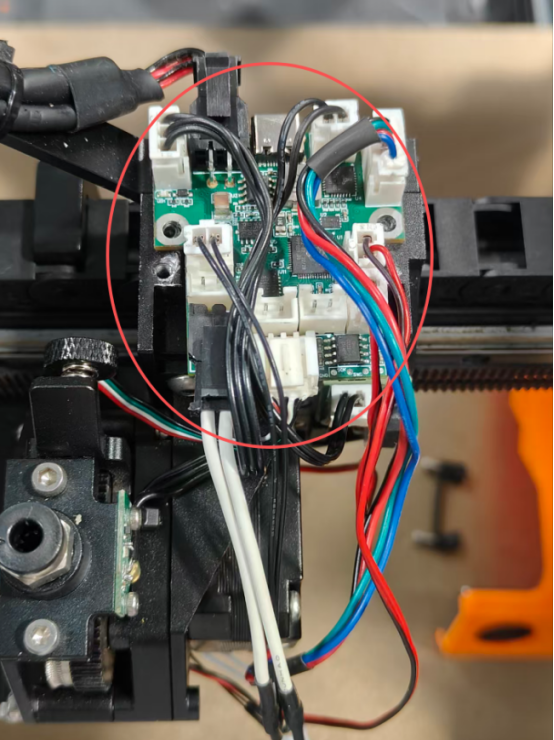
5.Unplug the cables from the Canbus adapter board.
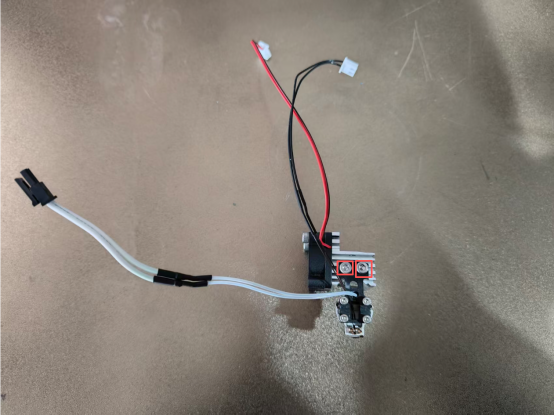
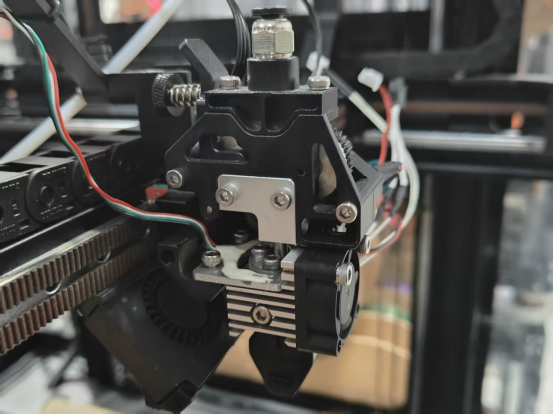
6.Remove the extruder wheel module.
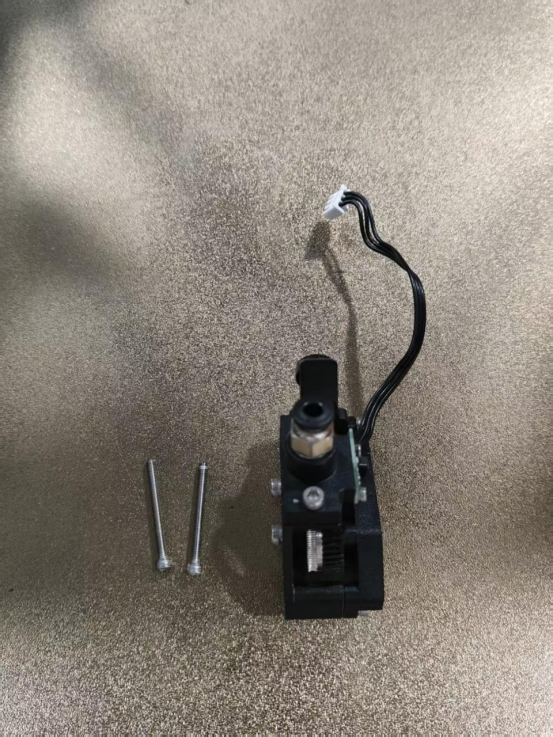
7.Remove the hotend.
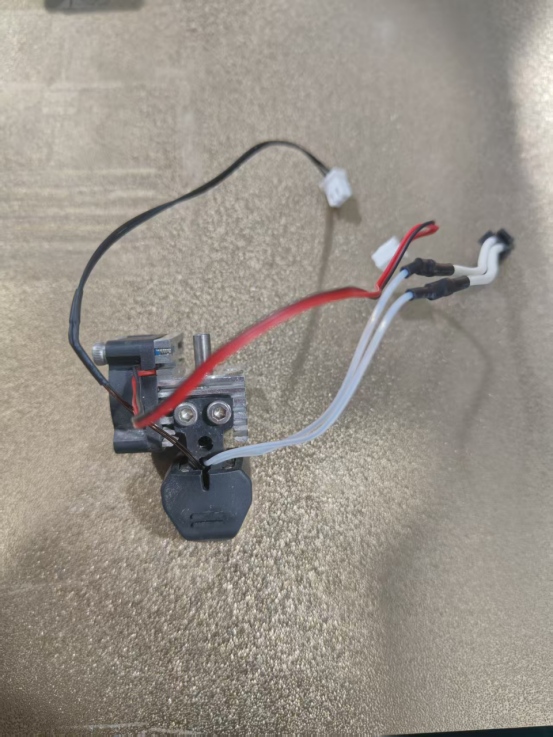
8.Detach the silicone sleeve and nozzle.
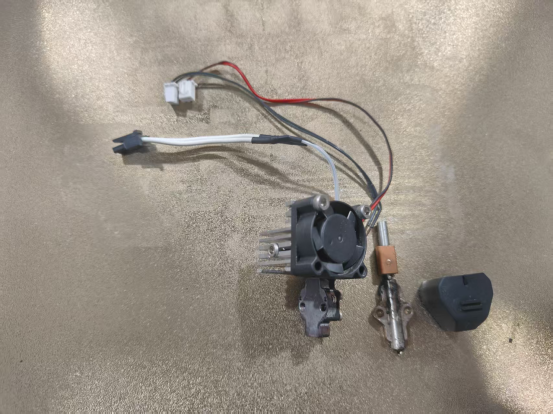
9.Remove the old hotend heater block assembly.
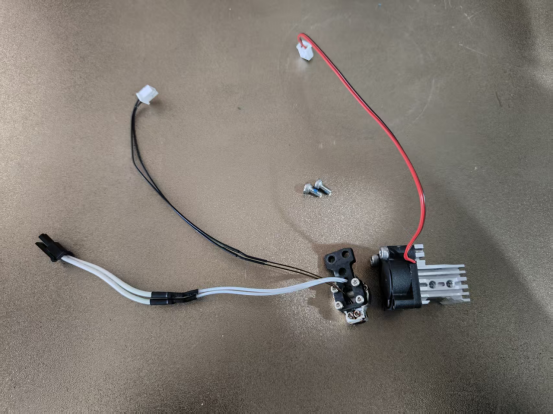
10.Install the new hotend heater block assembly.
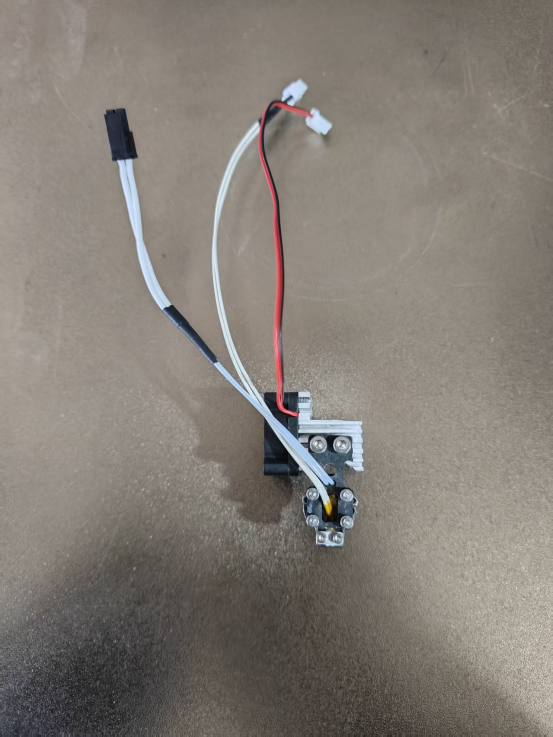
11.Reinstall the nozzle and silicone sock.
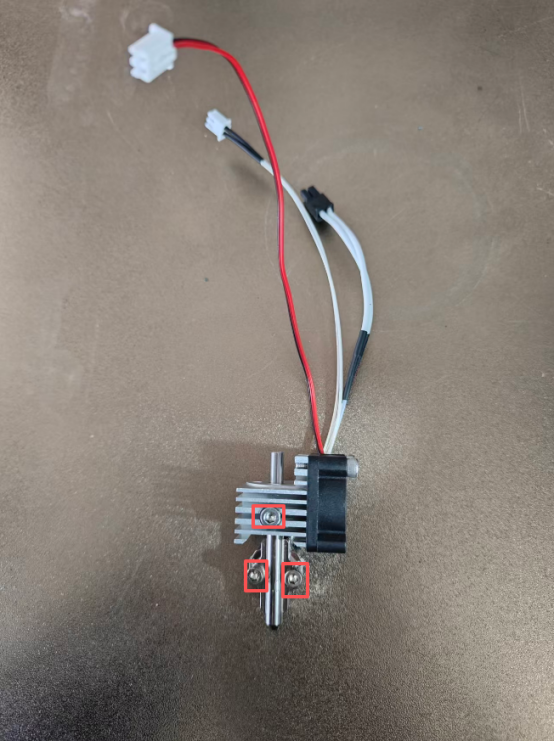
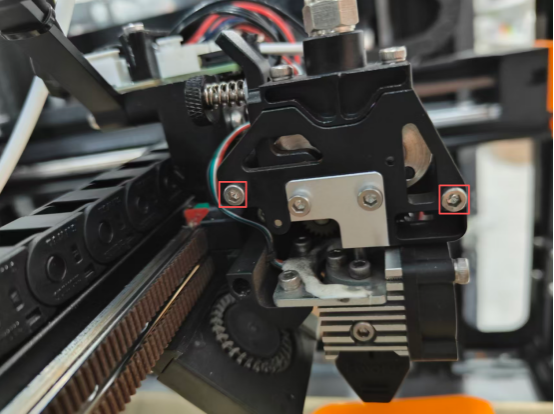
12.Secure the hotend onto the load cell.

13.Install the extruder wheel module.
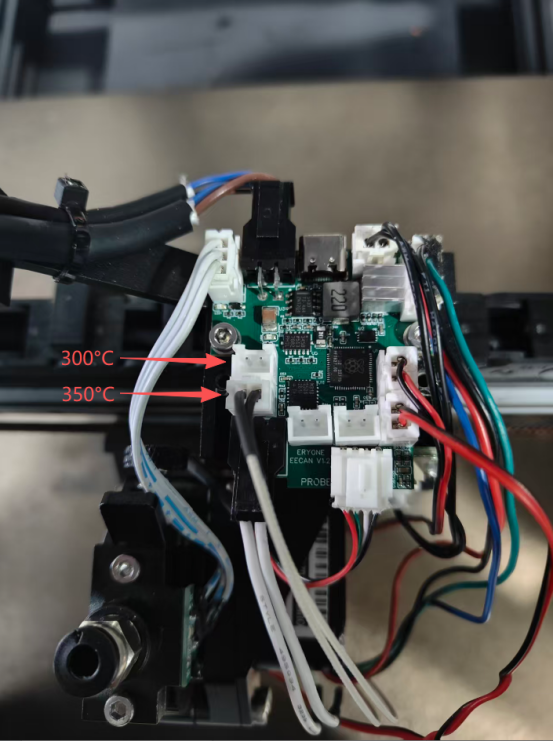
14.Remove the old Canbus board and replace it with the new one.
15.Reconnect the cables to the Canbus ports.
16.Reinstall the extruder housing cover.
17.Power on the printer.
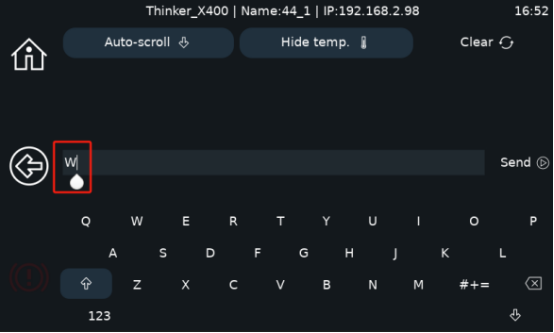
- In the console, output an uppercase "W". Two UUIDs should appear (if only one UUID appears, power off and re-enter "W").

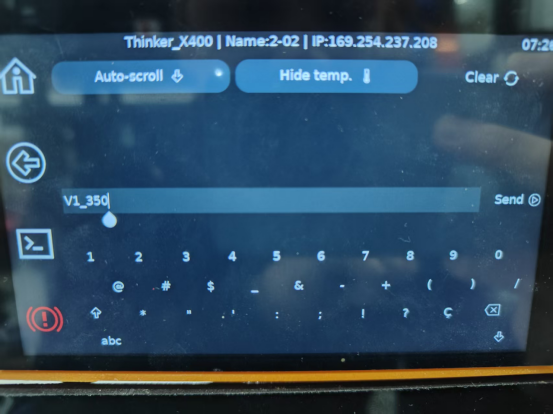
19.Then, in the console, enter V1_350 (Note: For a 350°C hotend, enter V1_350; for a 300°C hotend, enter V_300).
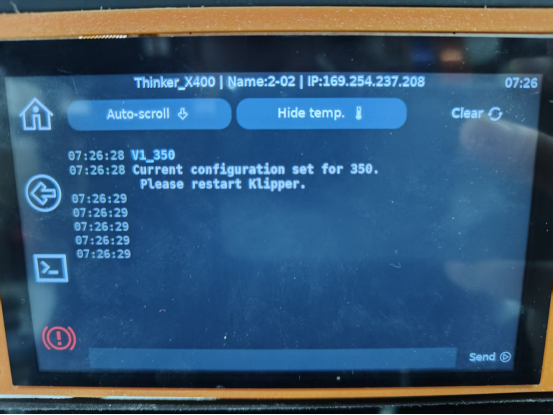
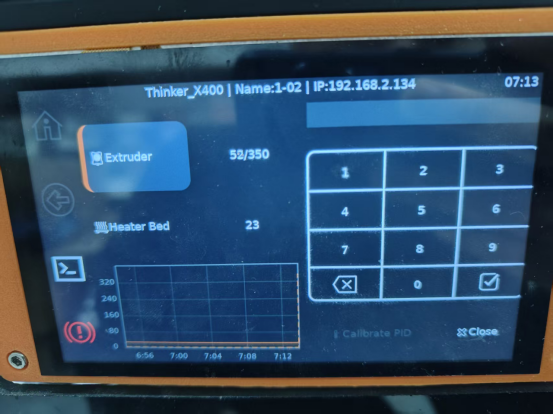
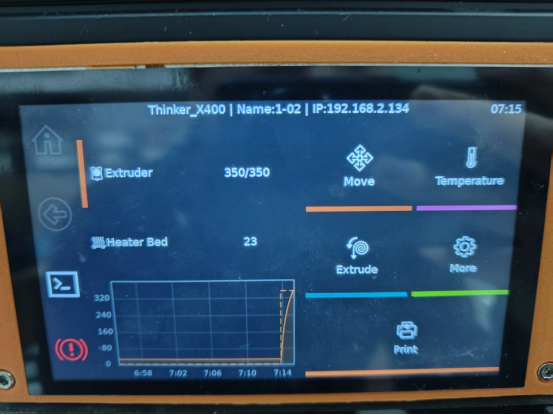
20.Power off and restart the printer. The machine will successfully boot to the main interface.
21.Heat the nozzle individually to 350°C. If no issues arise, the upgrade is complete.