¶ Orca Slicer
Note: Make sure you have read the Quick Start Guide and successfully completed your first print before reading!
Printing of 3D models requires preview slicing by slicing software before printing.
¶ Pre-Print Preparation
- Obtain a 3D model file (STL/STEP/OBJ).
- Import the file into Orca-Slicer.
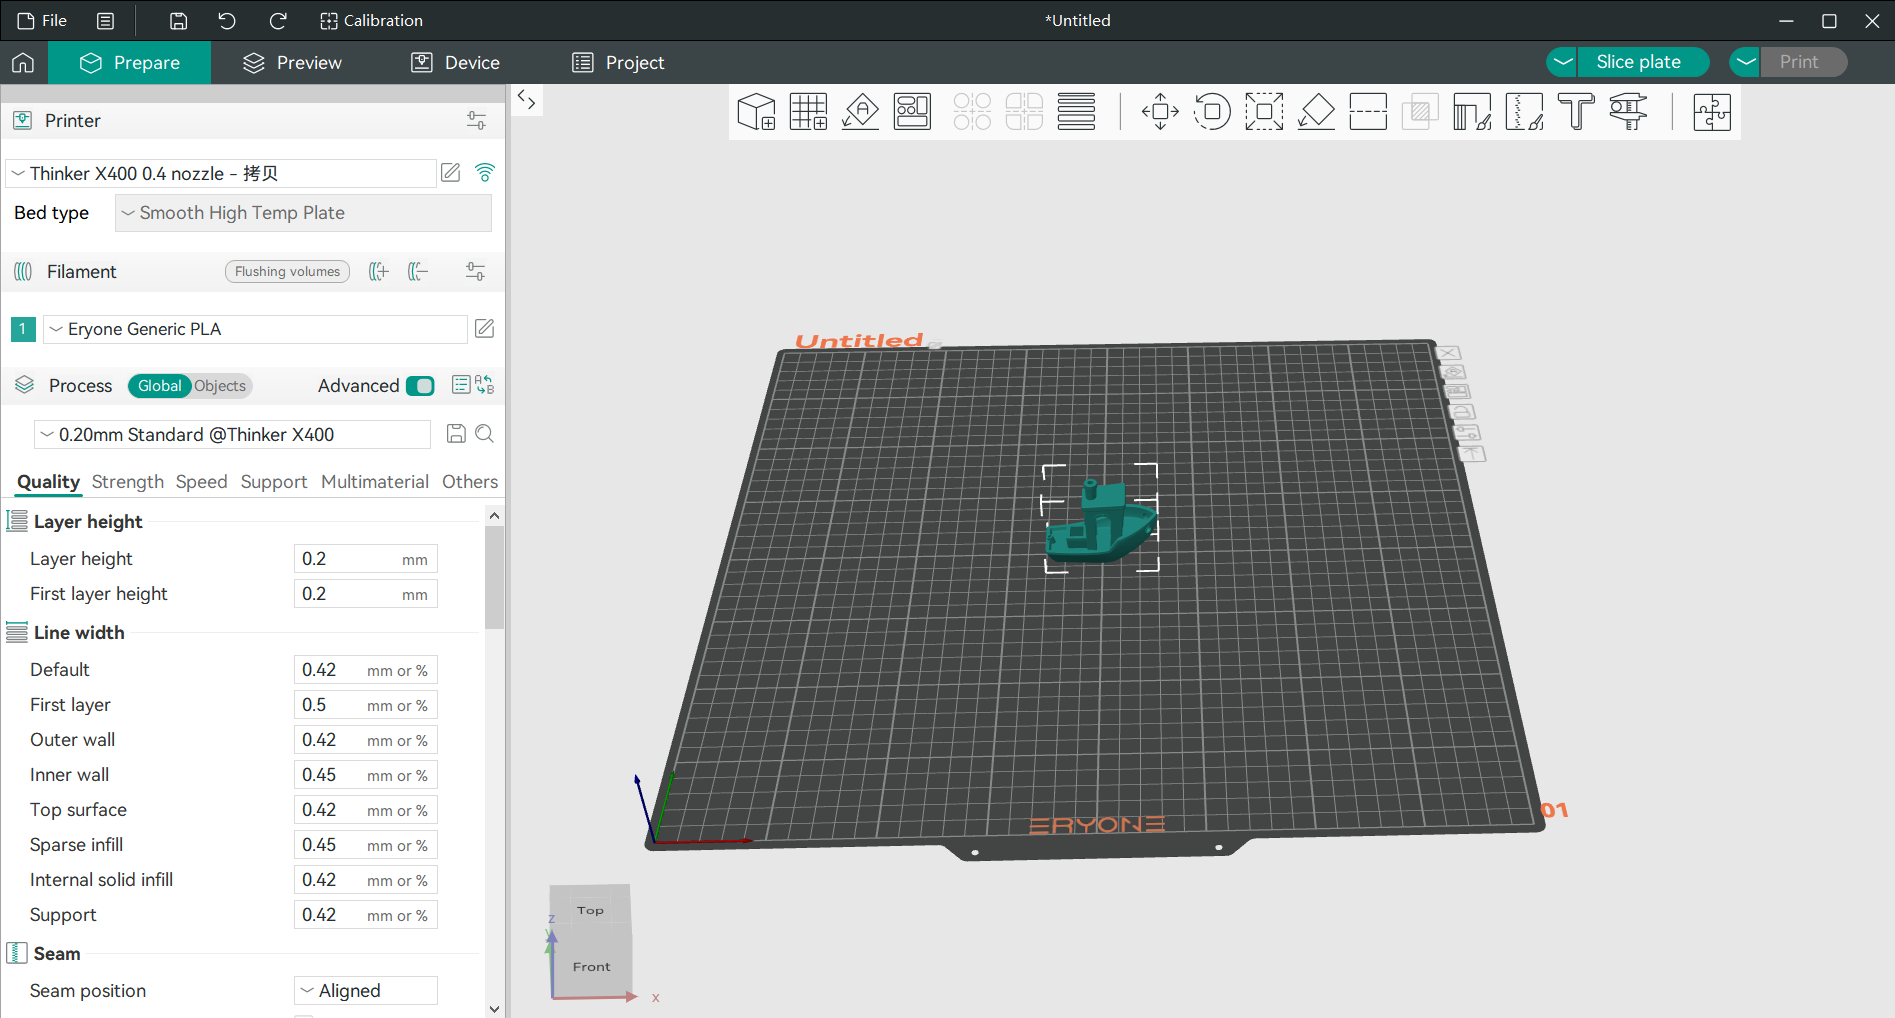
- Adjust parameters (
recommended: use Eryone’s default settings). - Preview and slice the model.
- Export the sliced file to a USB drive or send it to the printer via network.
¶ Download Link
Donwload Orca Slicer from Google Cloud Drive:
https://drive.google.com/drive/folders/1htD4KUY9WmH9W7UyBleRF0uzNoNothT1?usp=drive_link
We recommend that you can download orca slicer from the Google Drive, as this one is the latest version from Eryone.
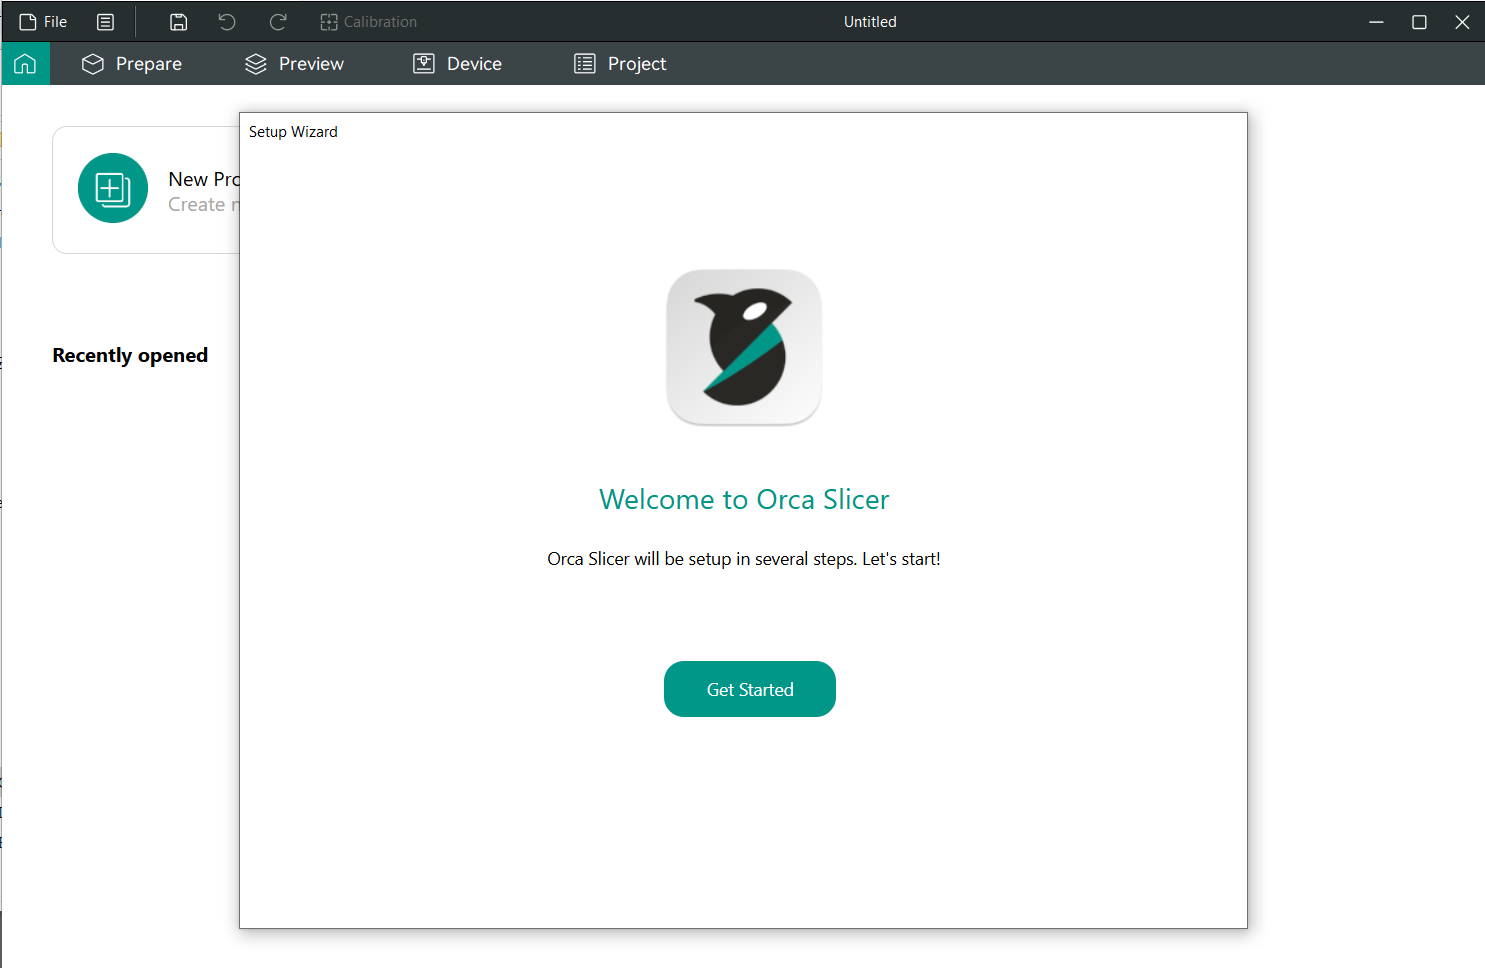
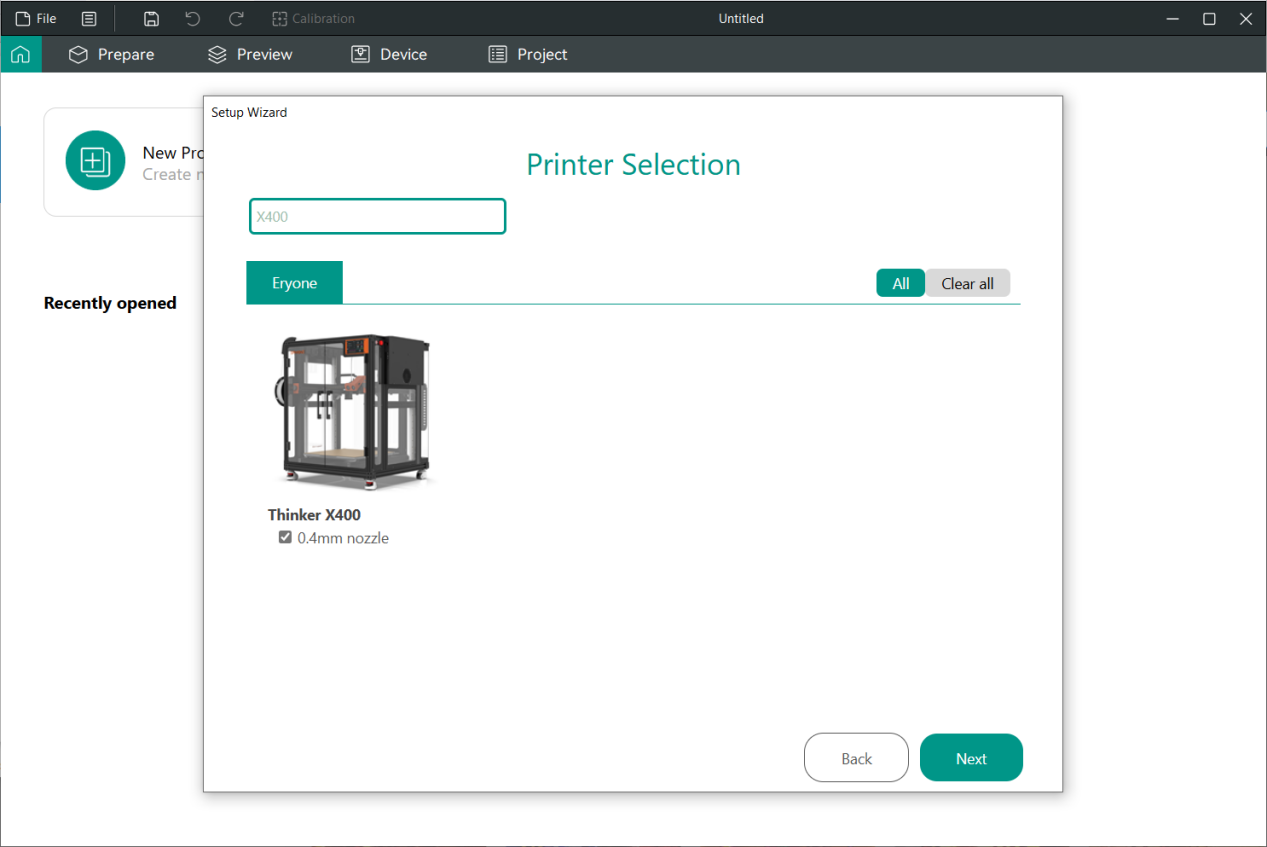
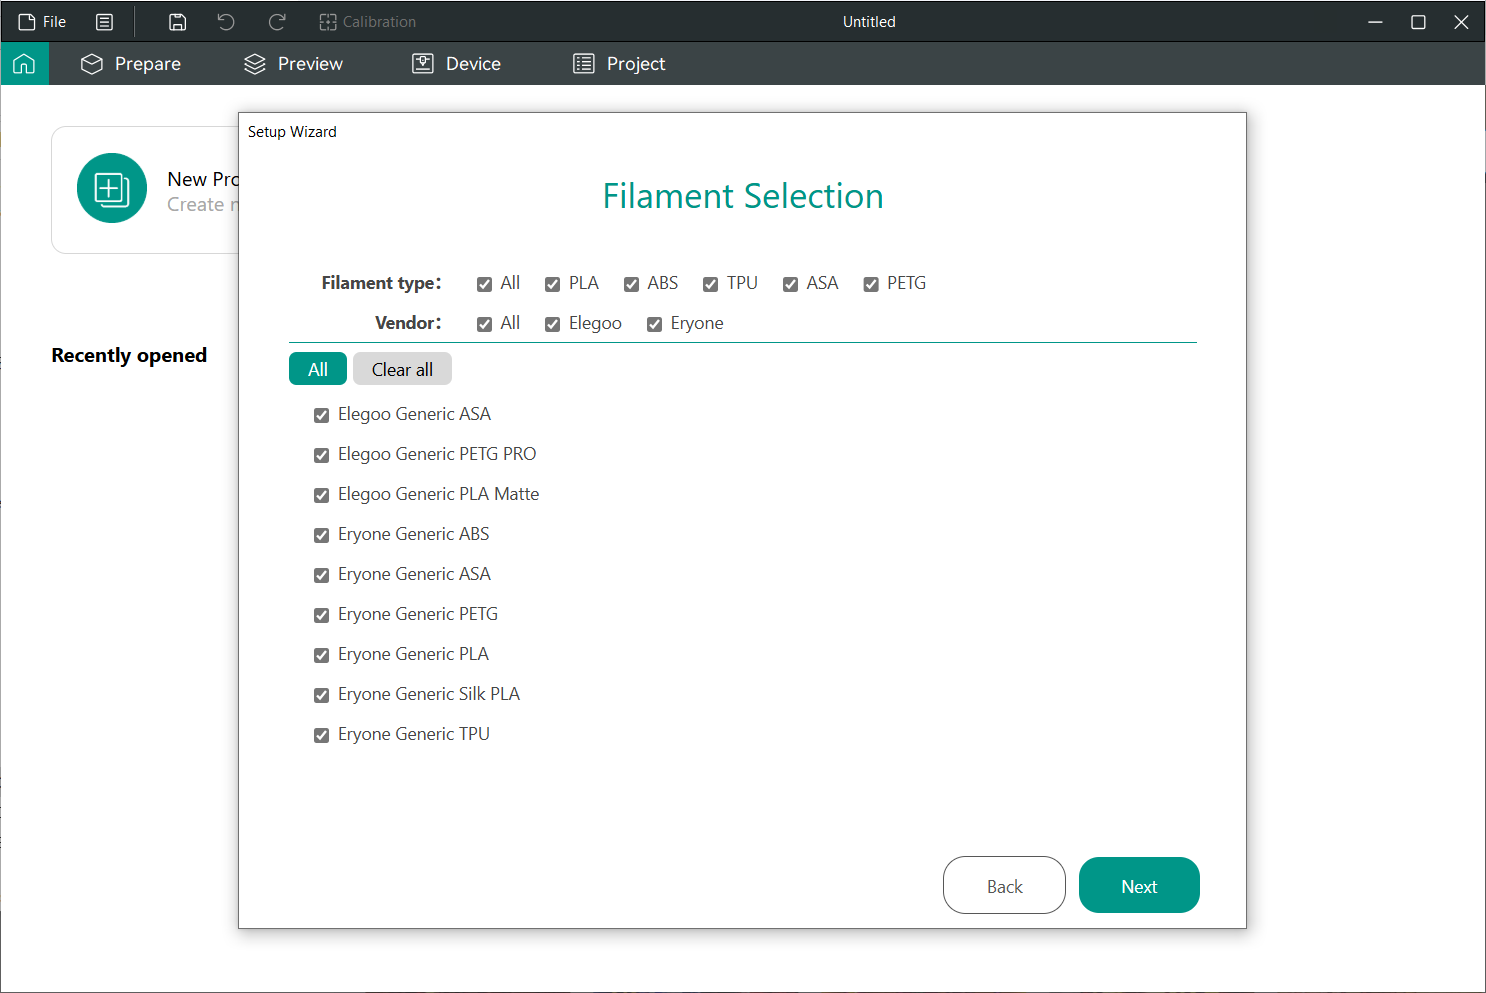
¶ How to Use Orca-Slicer
-
Install and open Orca-Slicer.
-
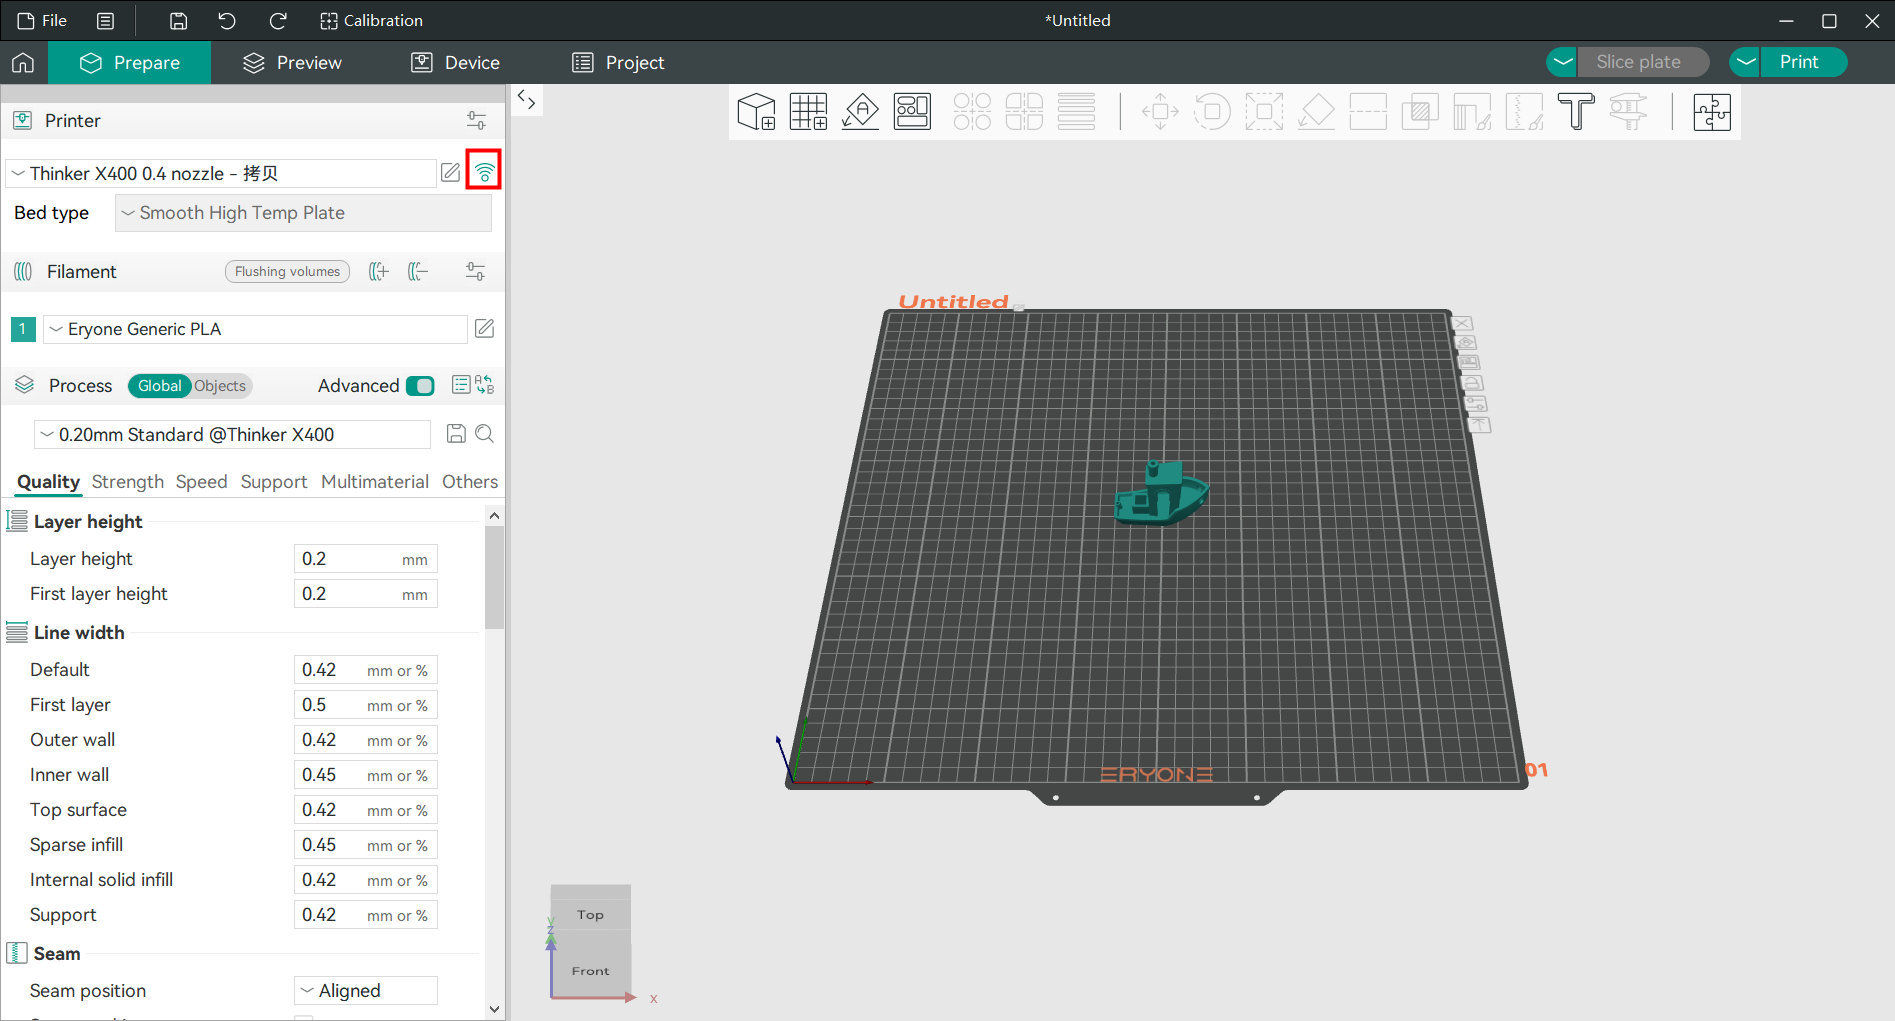
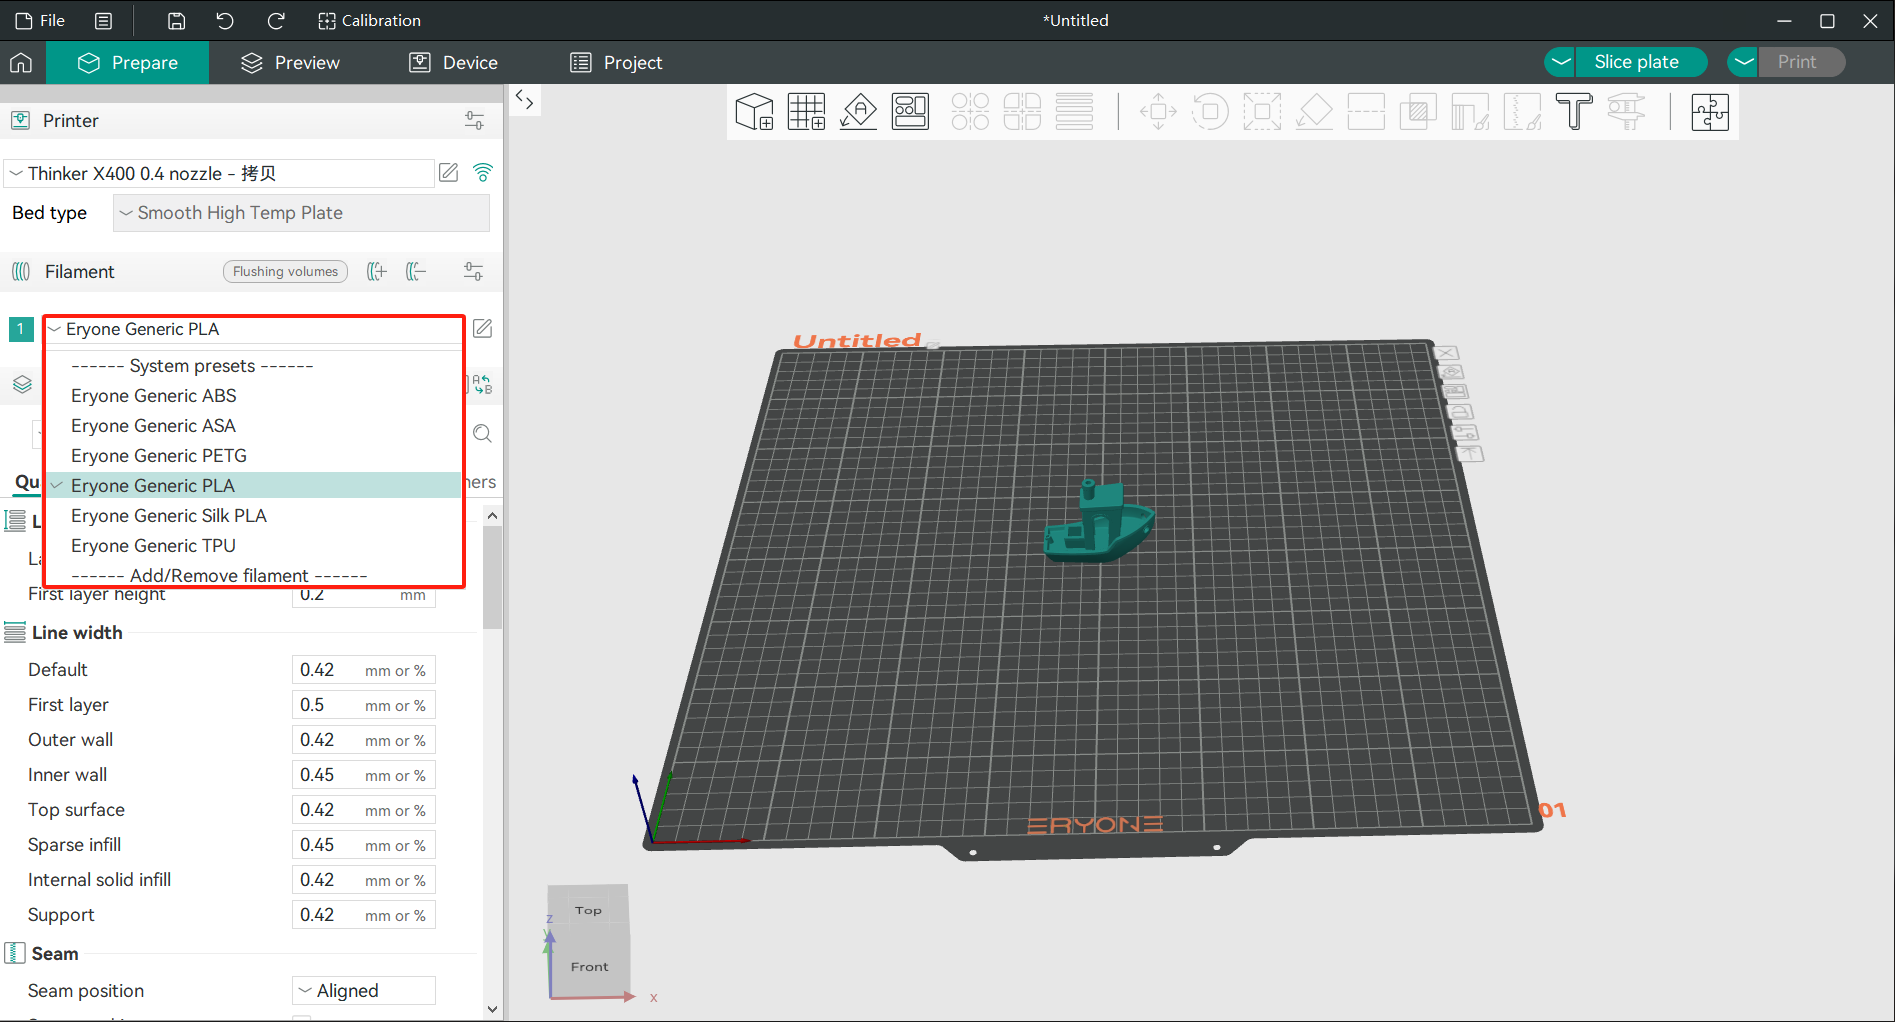
Select "Thinker X400" and enable Eryone’s filament parameters.
-
Import the model file.
-
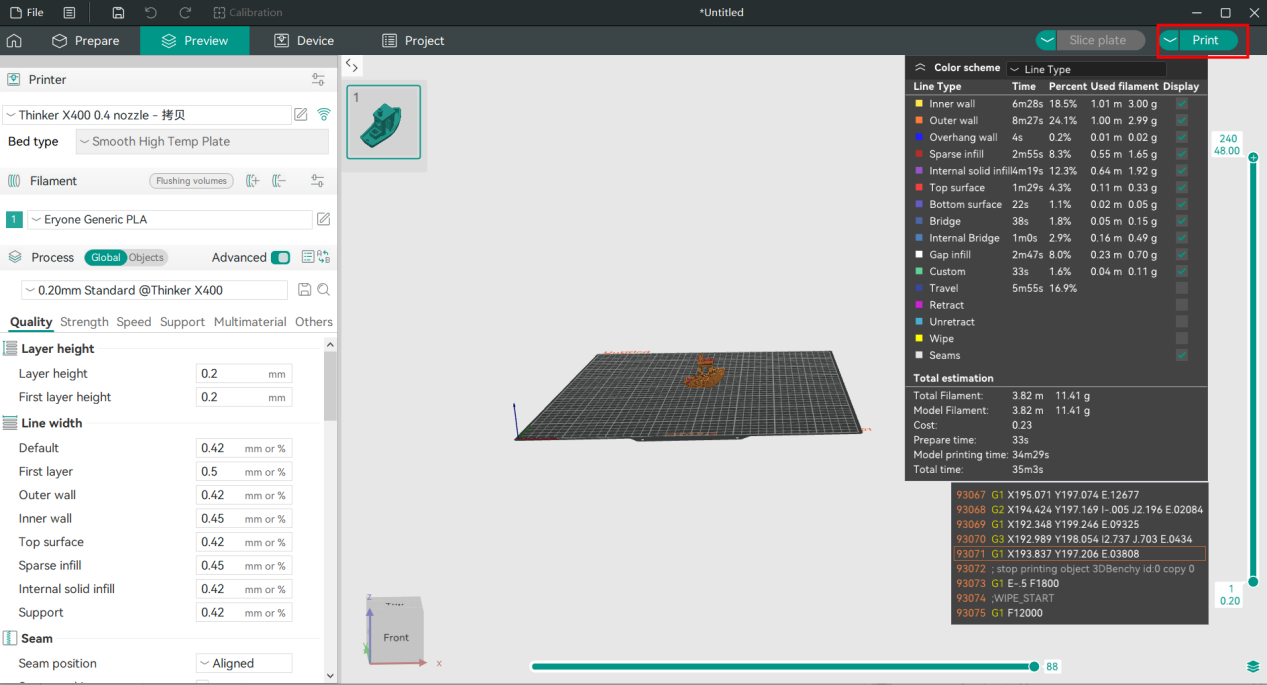
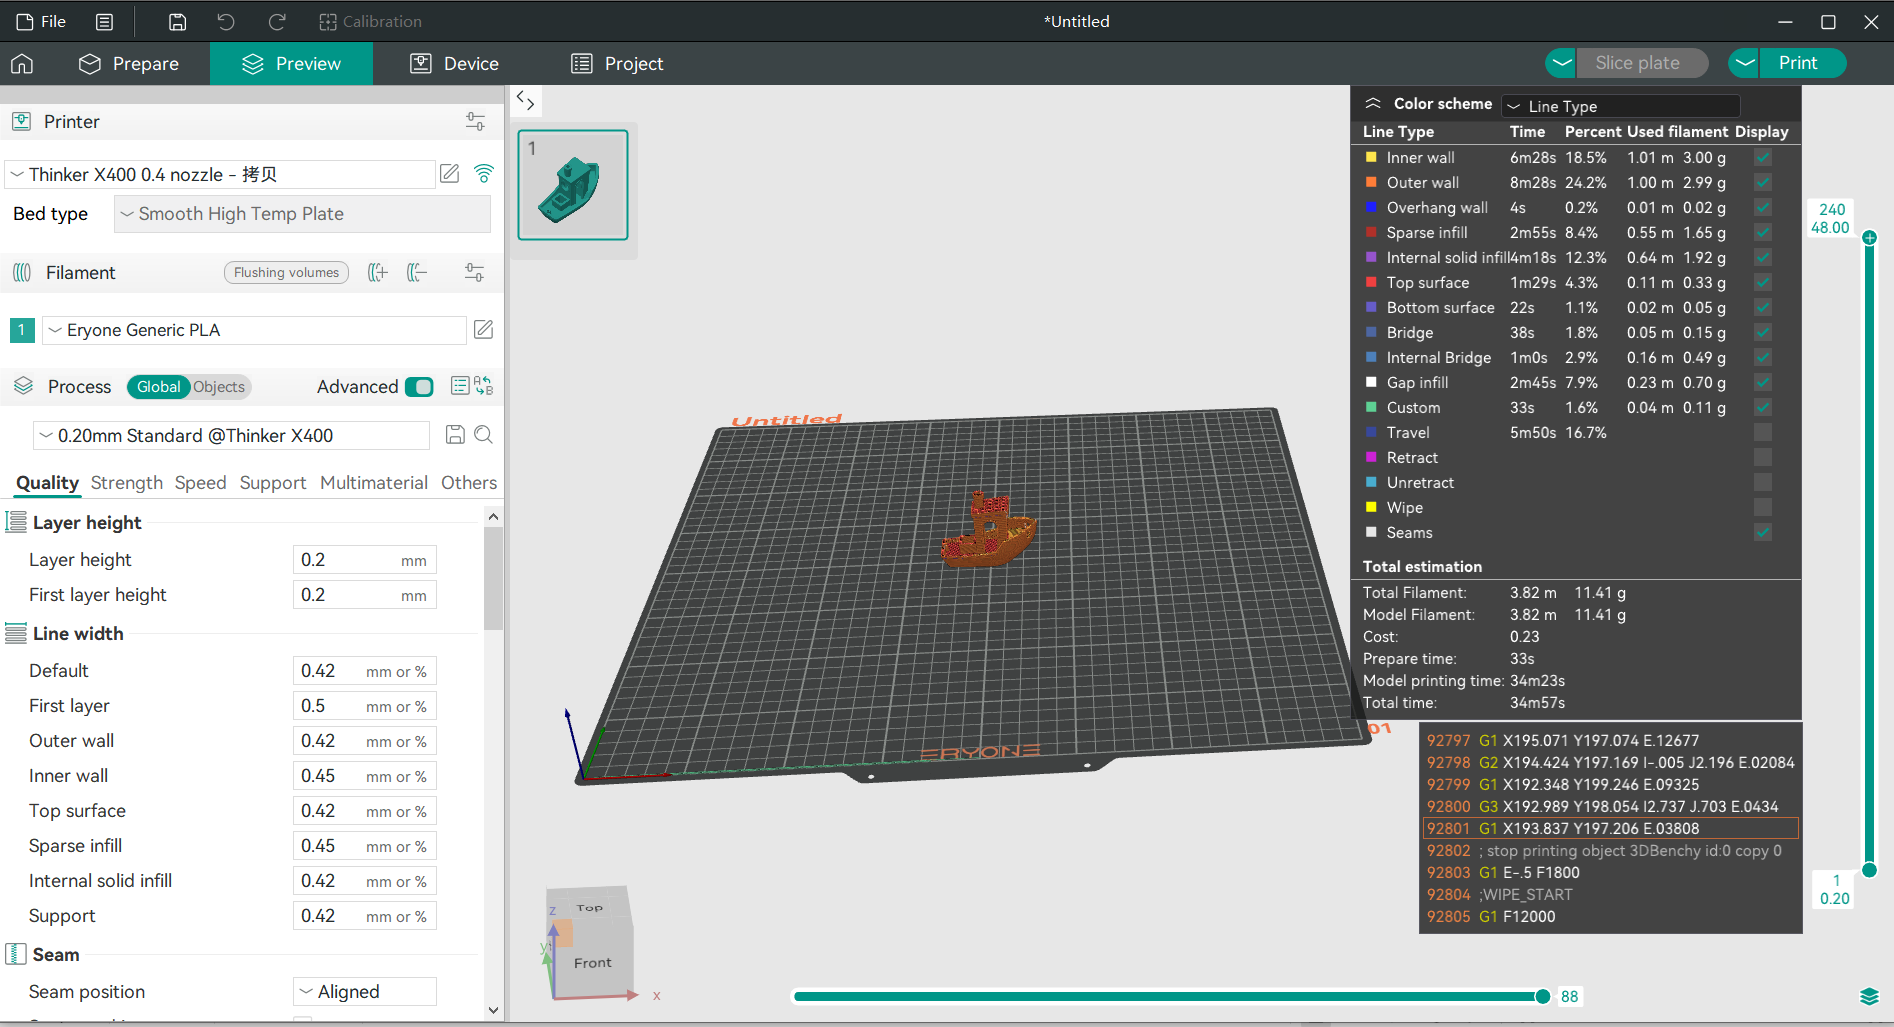
Configure settings and slice the model.
-
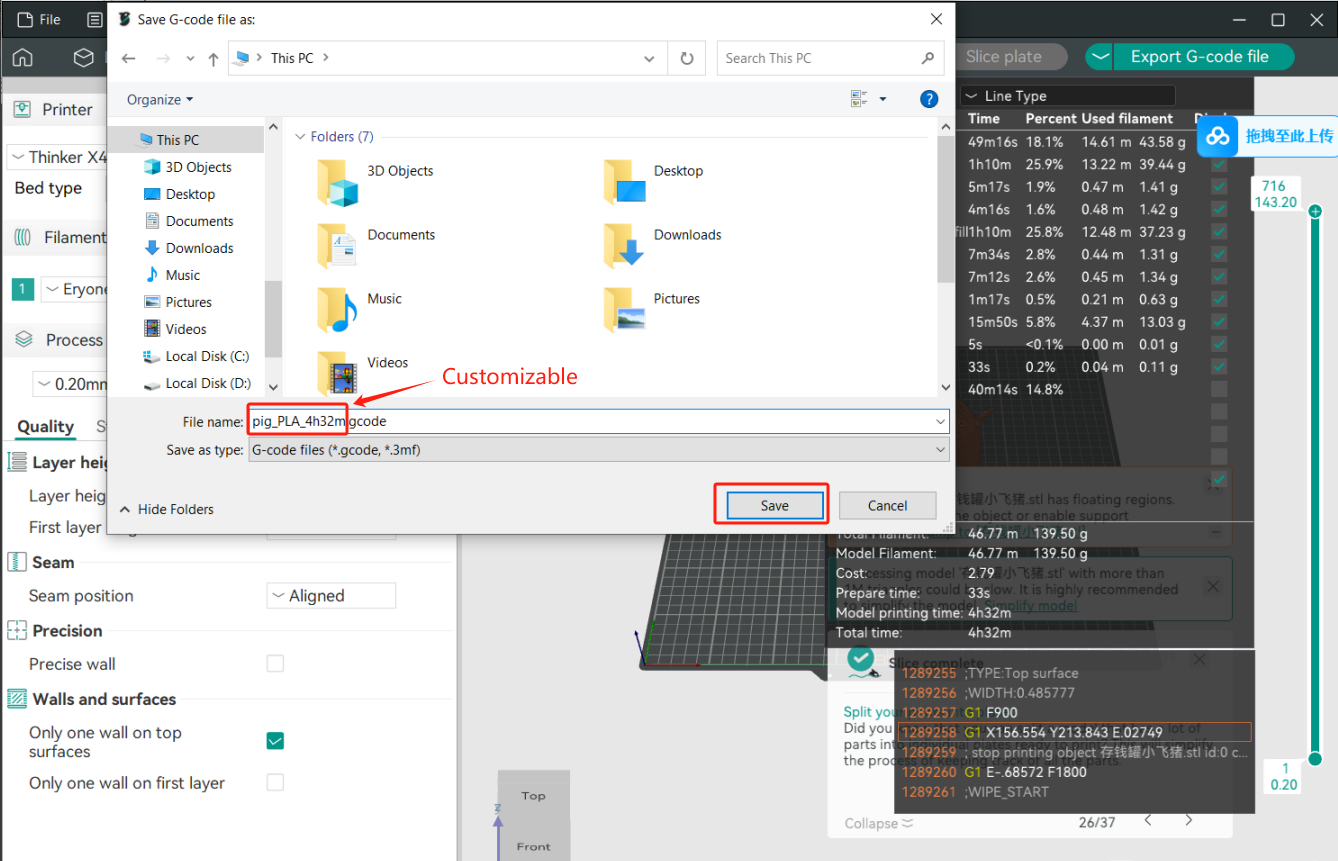
Method 1: Preview and export the slice file as a gcode file, transfer the file to a USB flash drive, and then insert the USB flash drive into the printer to print it.
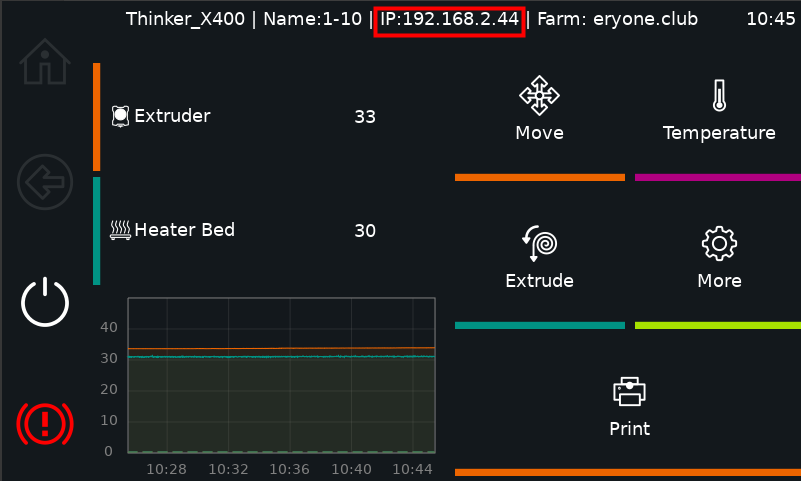
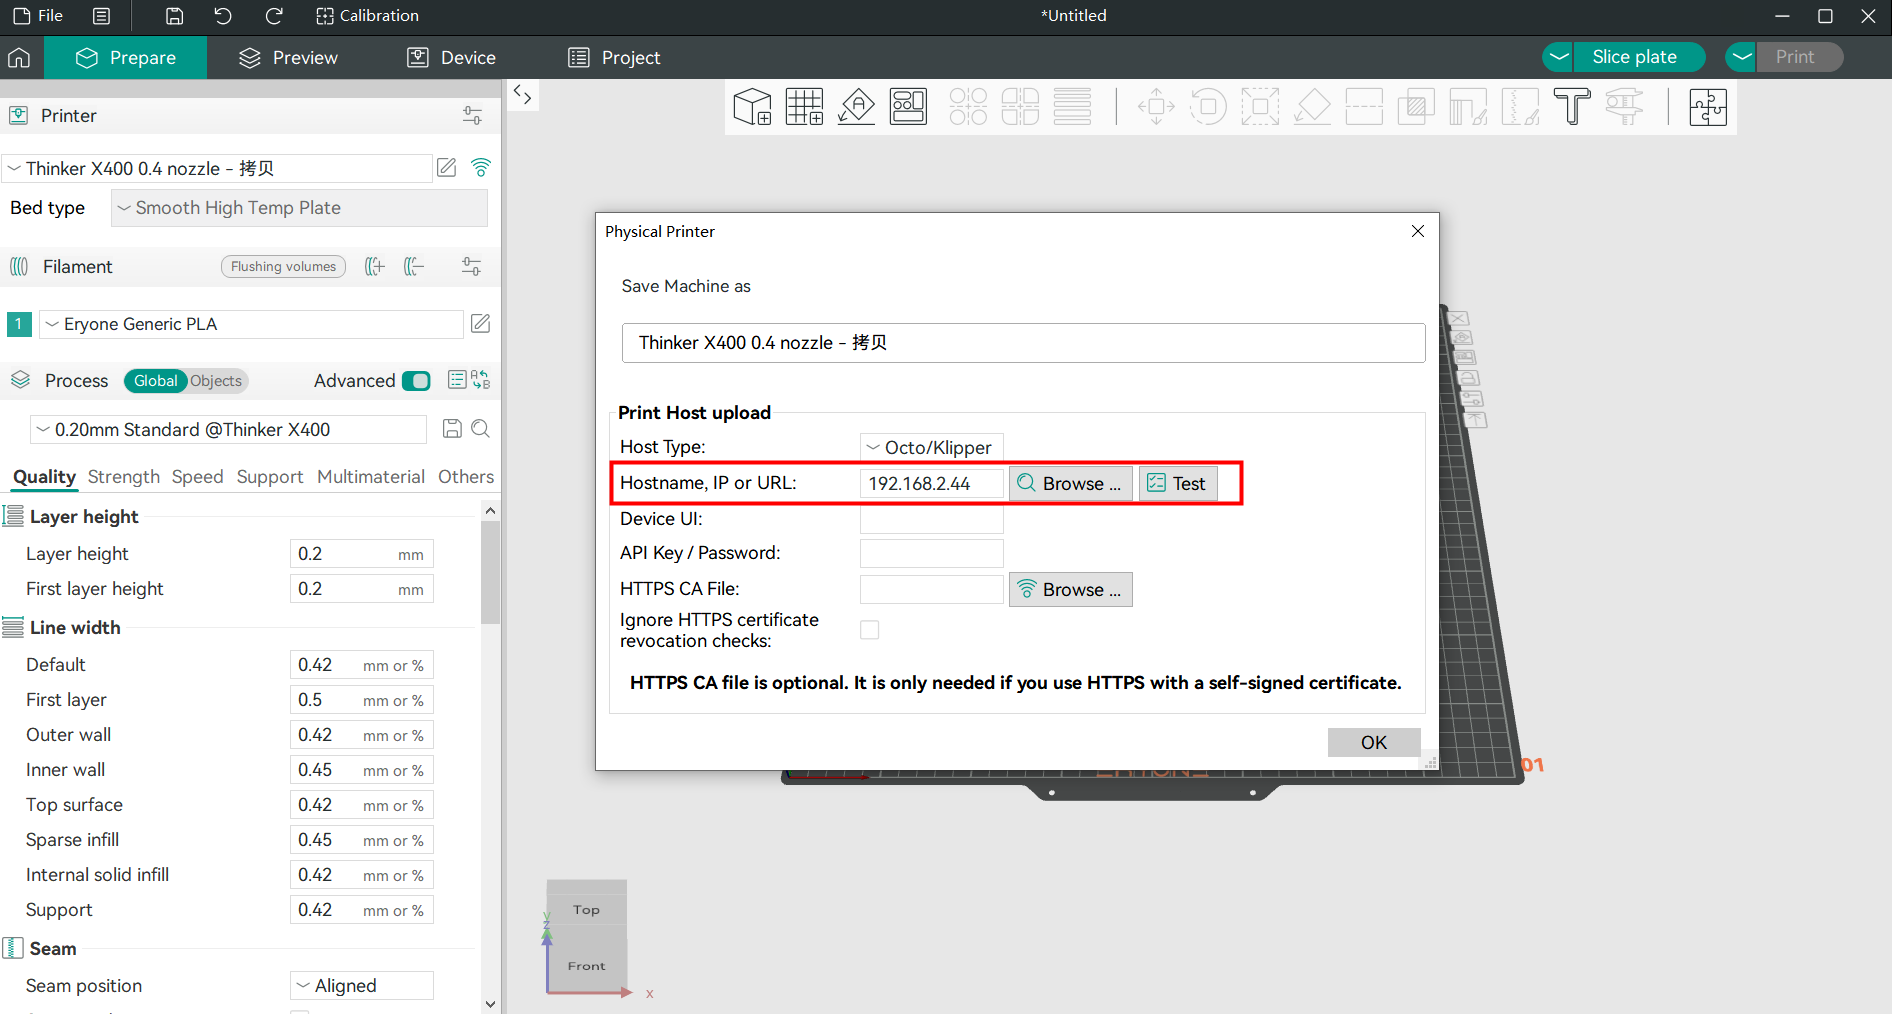
Method 2: In a LAN environment, you can connect to the network, enter the IP address to preview the model, and select “Print” to upload it directly to the printer for printing.
Method 2: In a LAN environment, you can connect to the network, enter the IP address to preview the model, and select “Print” to upload it directly to the printer for printing.