¶ Printing Guide
¶ Loading Filament
Procedures
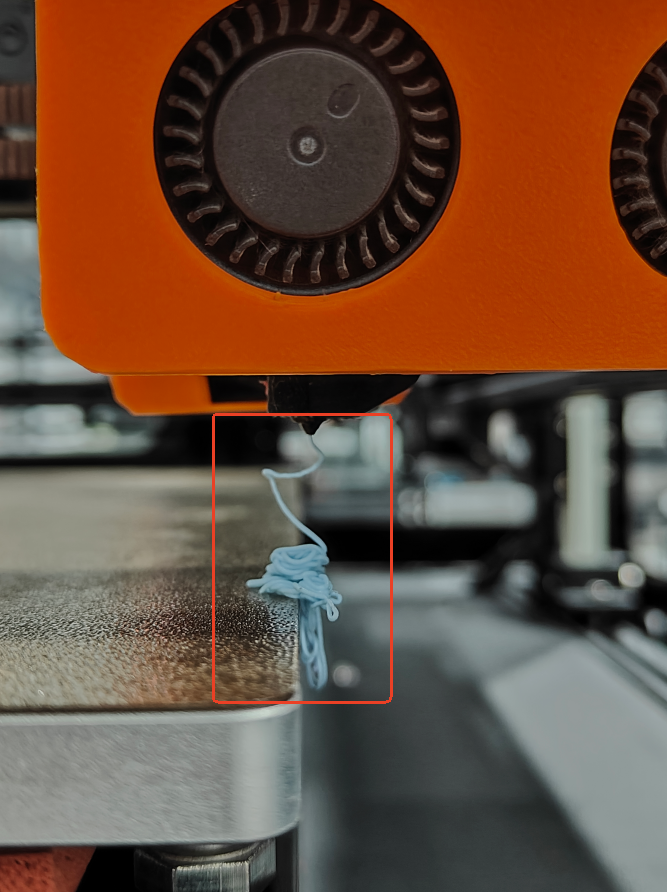
Step 1:Insert filament into the PTFE tube until the LED turns blue.
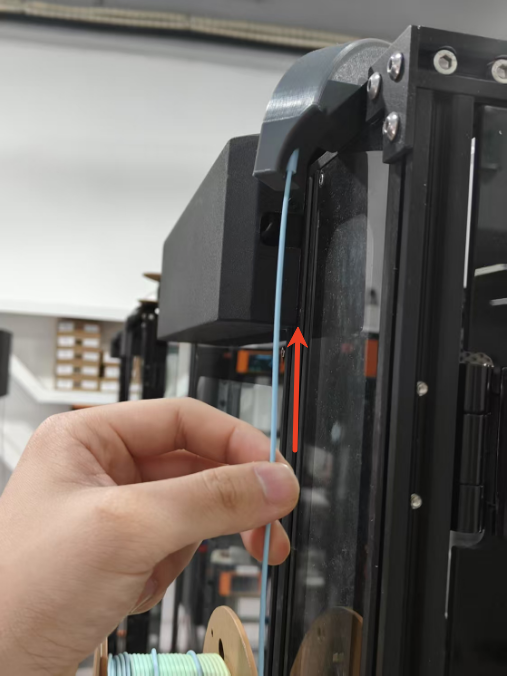
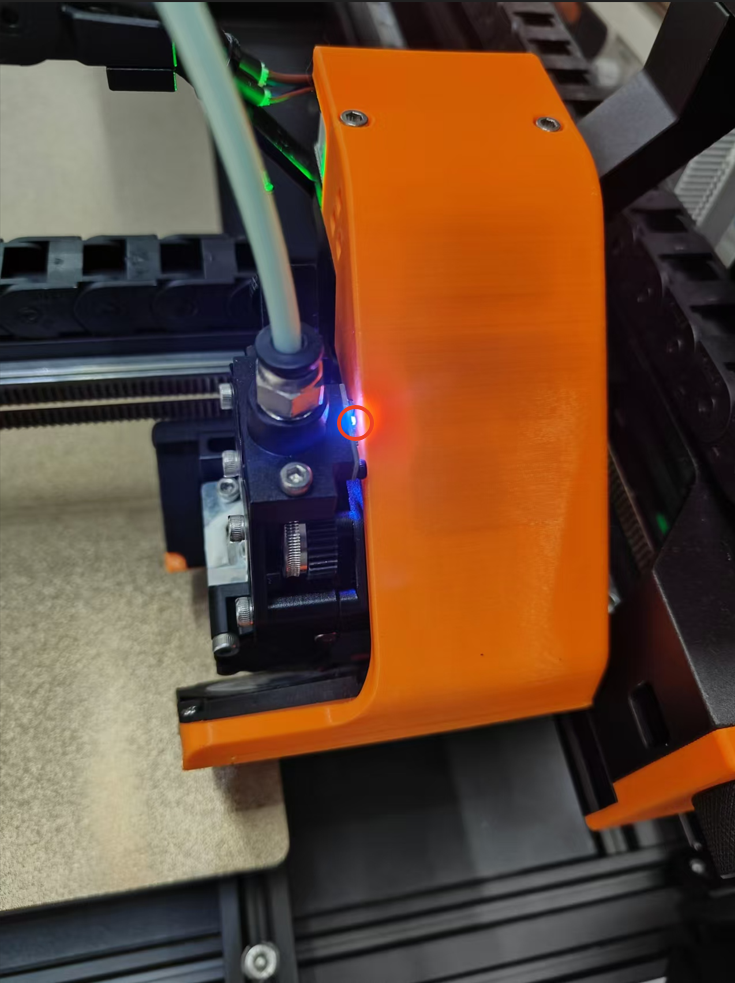
If the blue LED does not appear, it is possible that the wire on the breakage detection board has fallen off, simply replace the board with another breakage detection board.
Alternatively, you can feed the material manually.
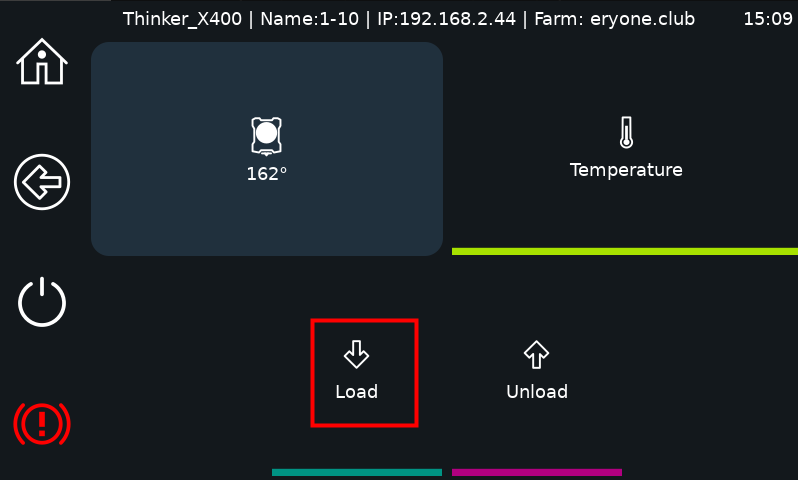
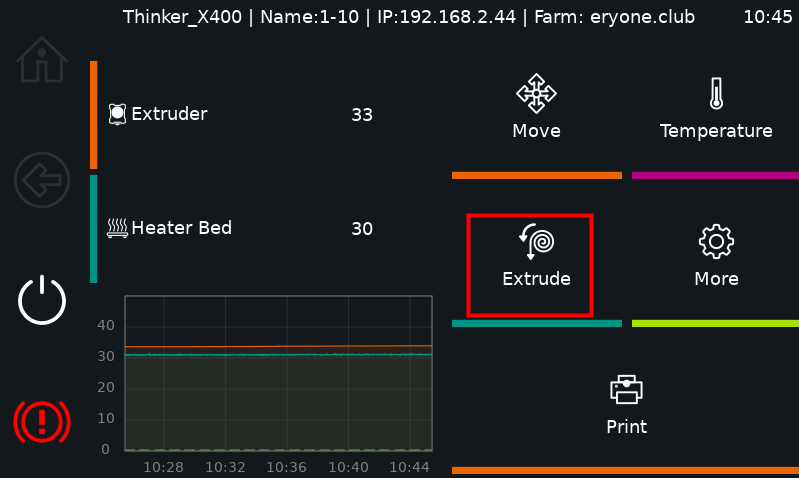
Click on the “Extrude” button.

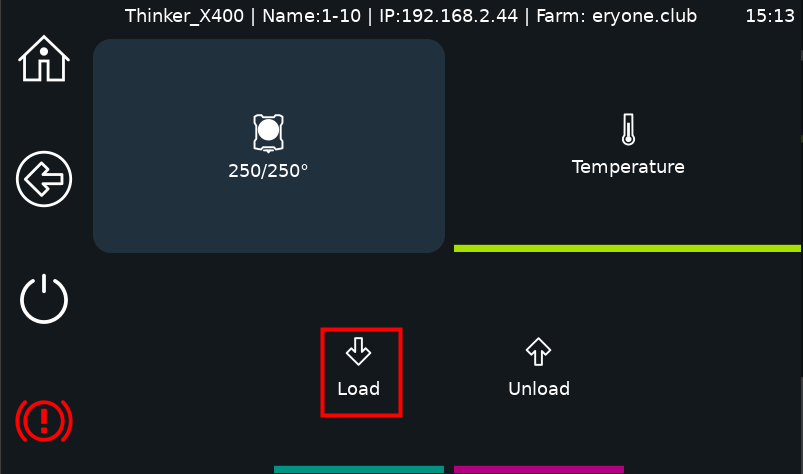
Click“Load Filament”
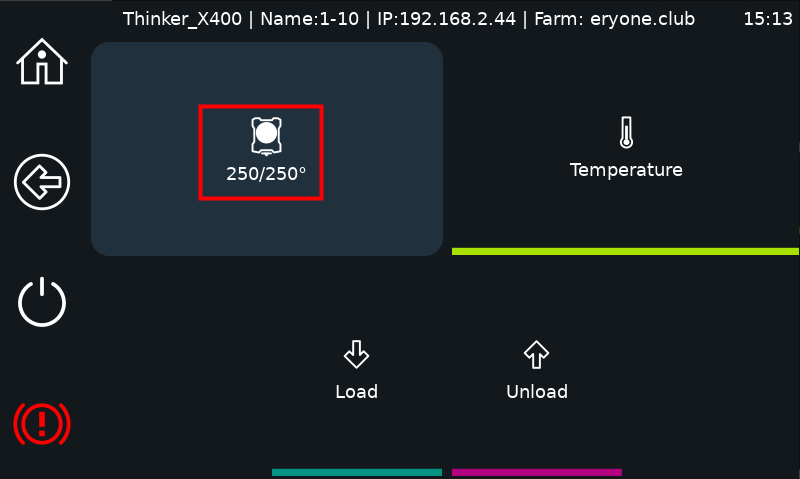
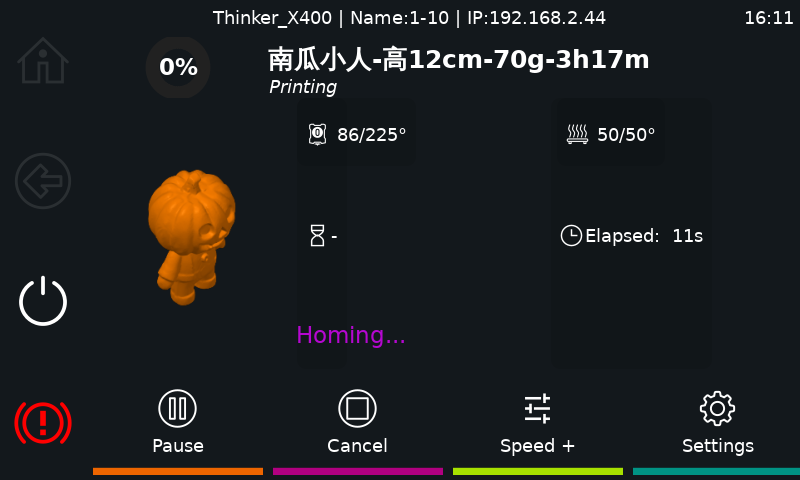
Step 2: Wait for the nozzle to heat to 250°C.
Step 3:Observe extrusion to ensure proper feeding.
Step 4: If the filament is not spit out, click “Load Filament” on the screen to try feeding again.
¶ Changing Filament
Procedures
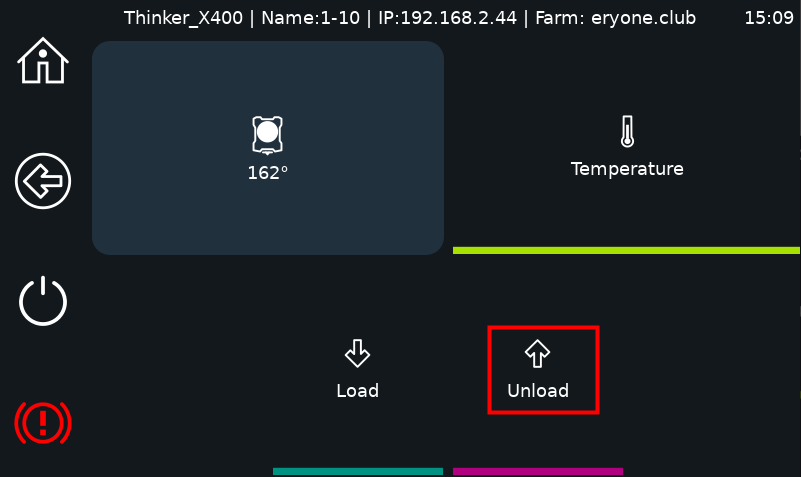
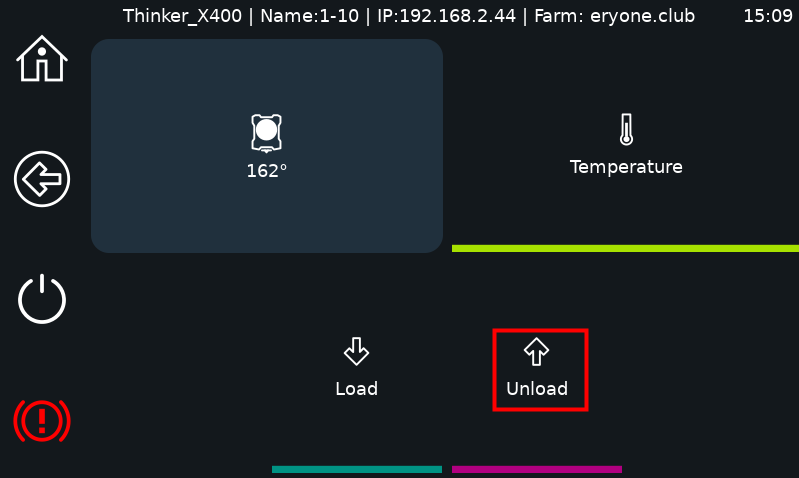
Step 1:Click on the Extrude button on the screen and select “Unload” The nozzle will automatically start to heat up to 250°C and draw back the filaments.

(If you need to replace the filaments in the middle of printing or if you don't have any filaments and need to replace the filaments, click on Settings, find the change button, and then do the above)
Step 2:Manually remove the filament.
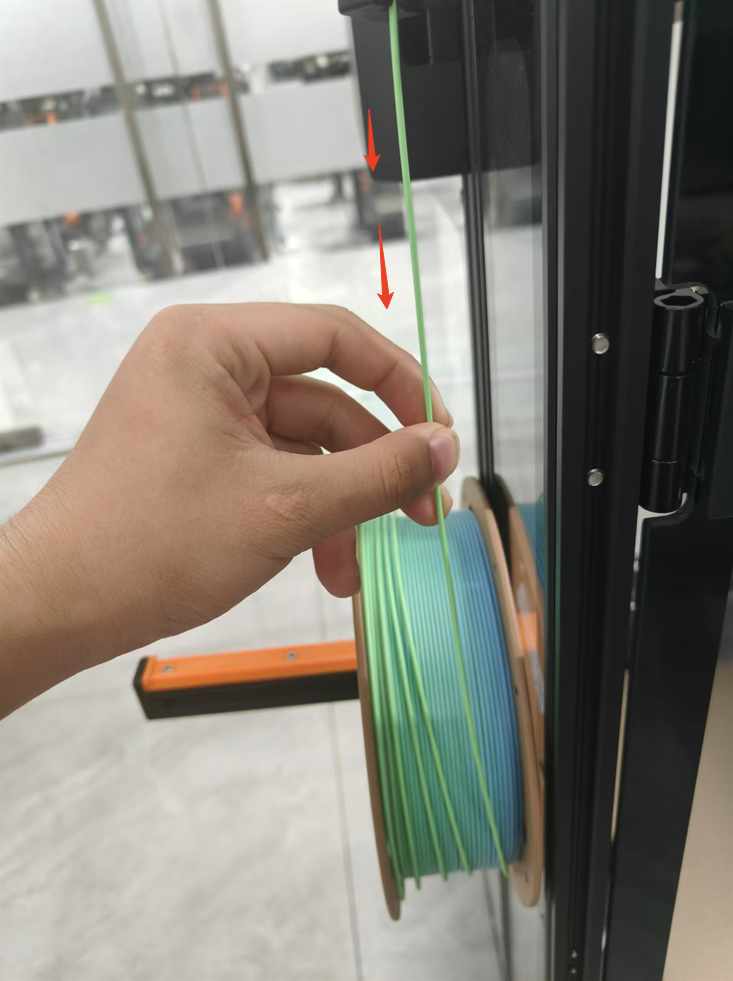
Step 3: If you did not remove the filament, click “Unload ” again and pull out the filaments again.
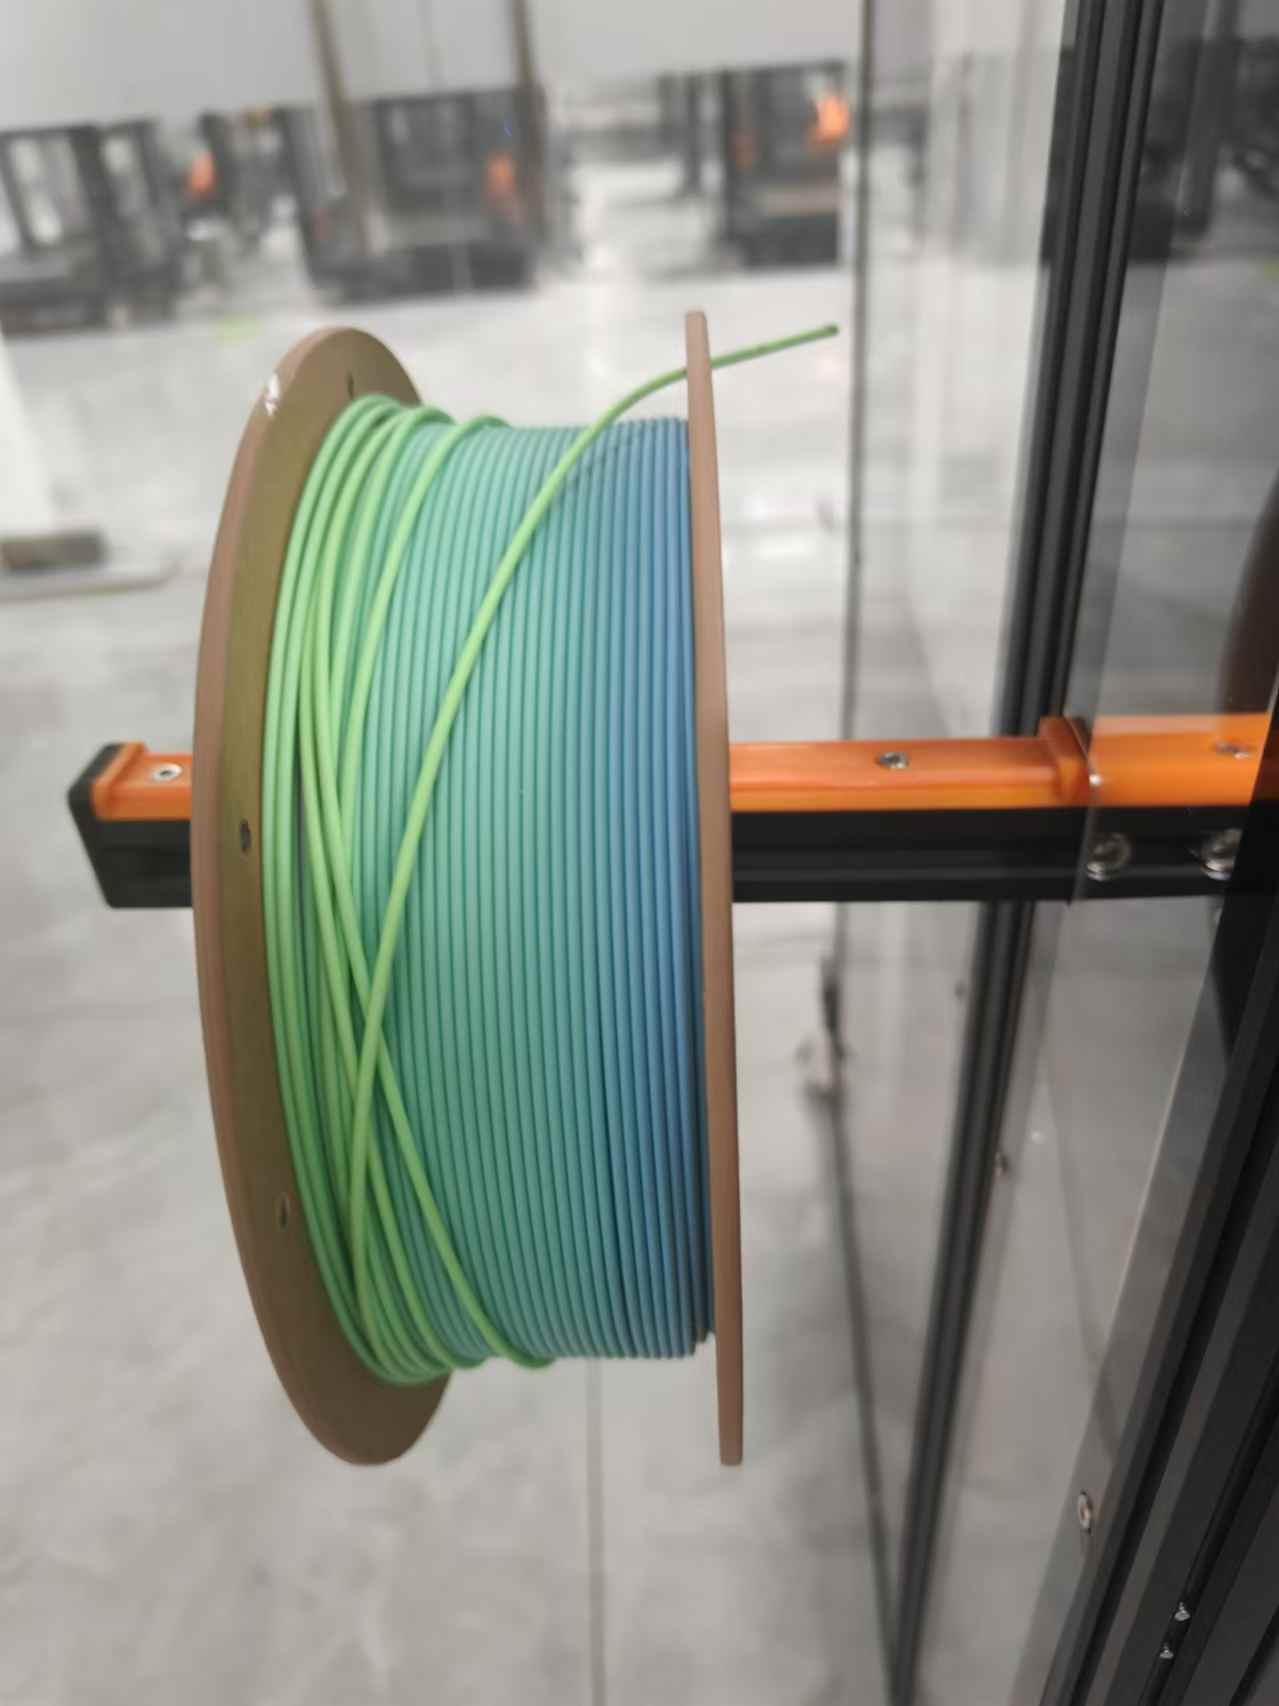
Step 4: Just take out the other roll of filaments and load it.
For operational details, see: Loading Printing Filaments (6.1)
¶ Printing from USB
Procedures
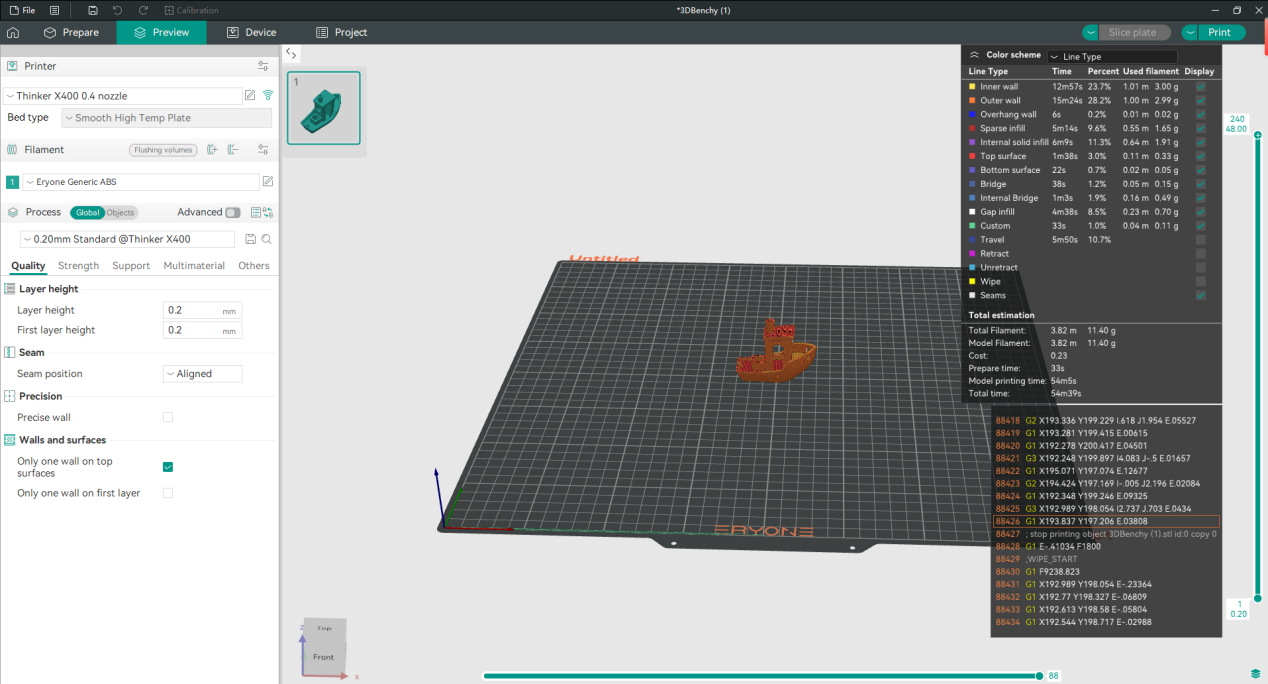
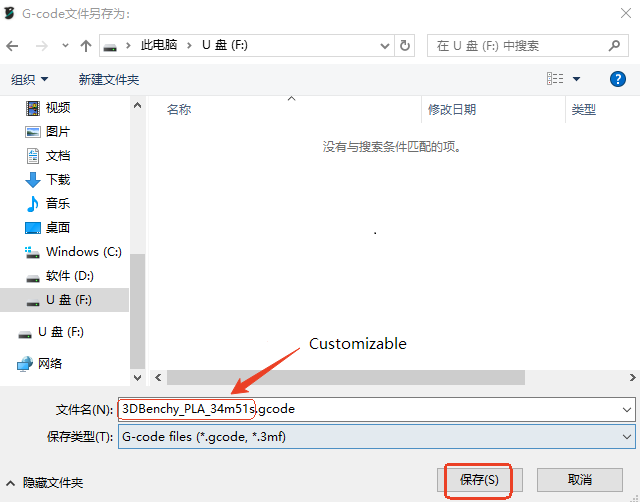
Step 1:Save the sliced file to a USB drive.
Step 2:Insert the USB into the printer.

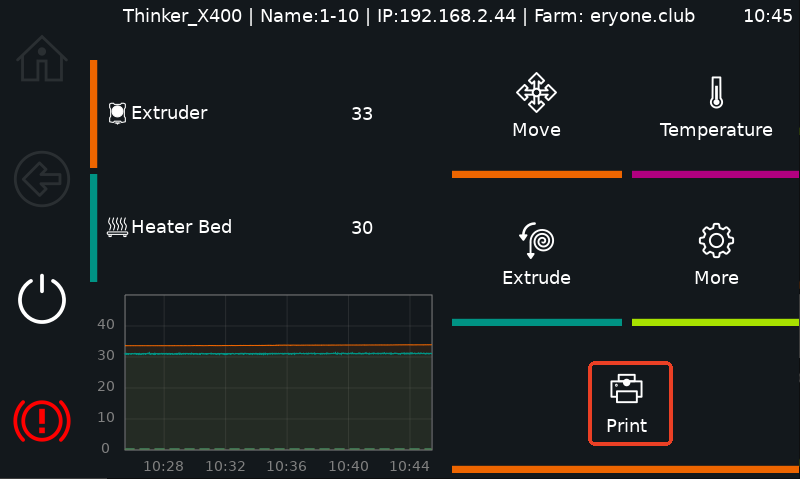
Step 3: Click the Print button on the screen to jump to the Print Cache page.
Step 4: Click the Refresh button on the screen and the USB flash drive folder appears.
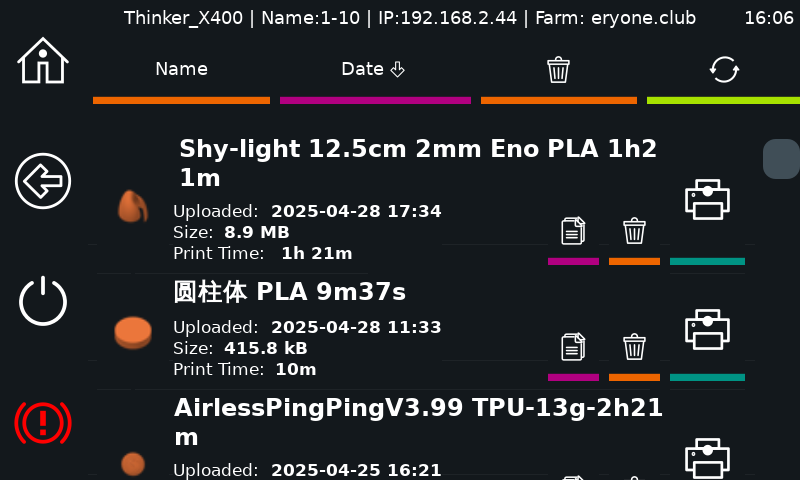
Step 5: Click into the USB flash drive file and select the model you want to print.
Step 6: Click the Print button and start printing the model.
Note:
The small fan next to the heat sink will be turned off when the nozzle temperature falls below 42°C
The fan in the activated carbon filter box will be turned off when the heat bed temperature falls below 45°.
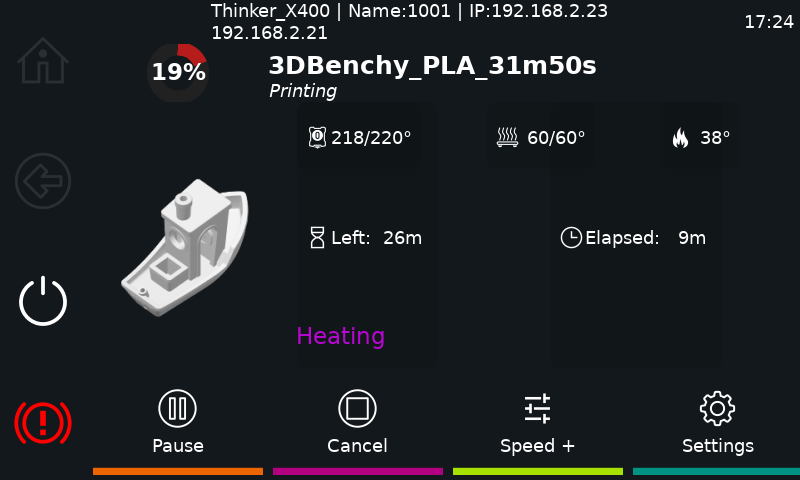
¶ Network Printing
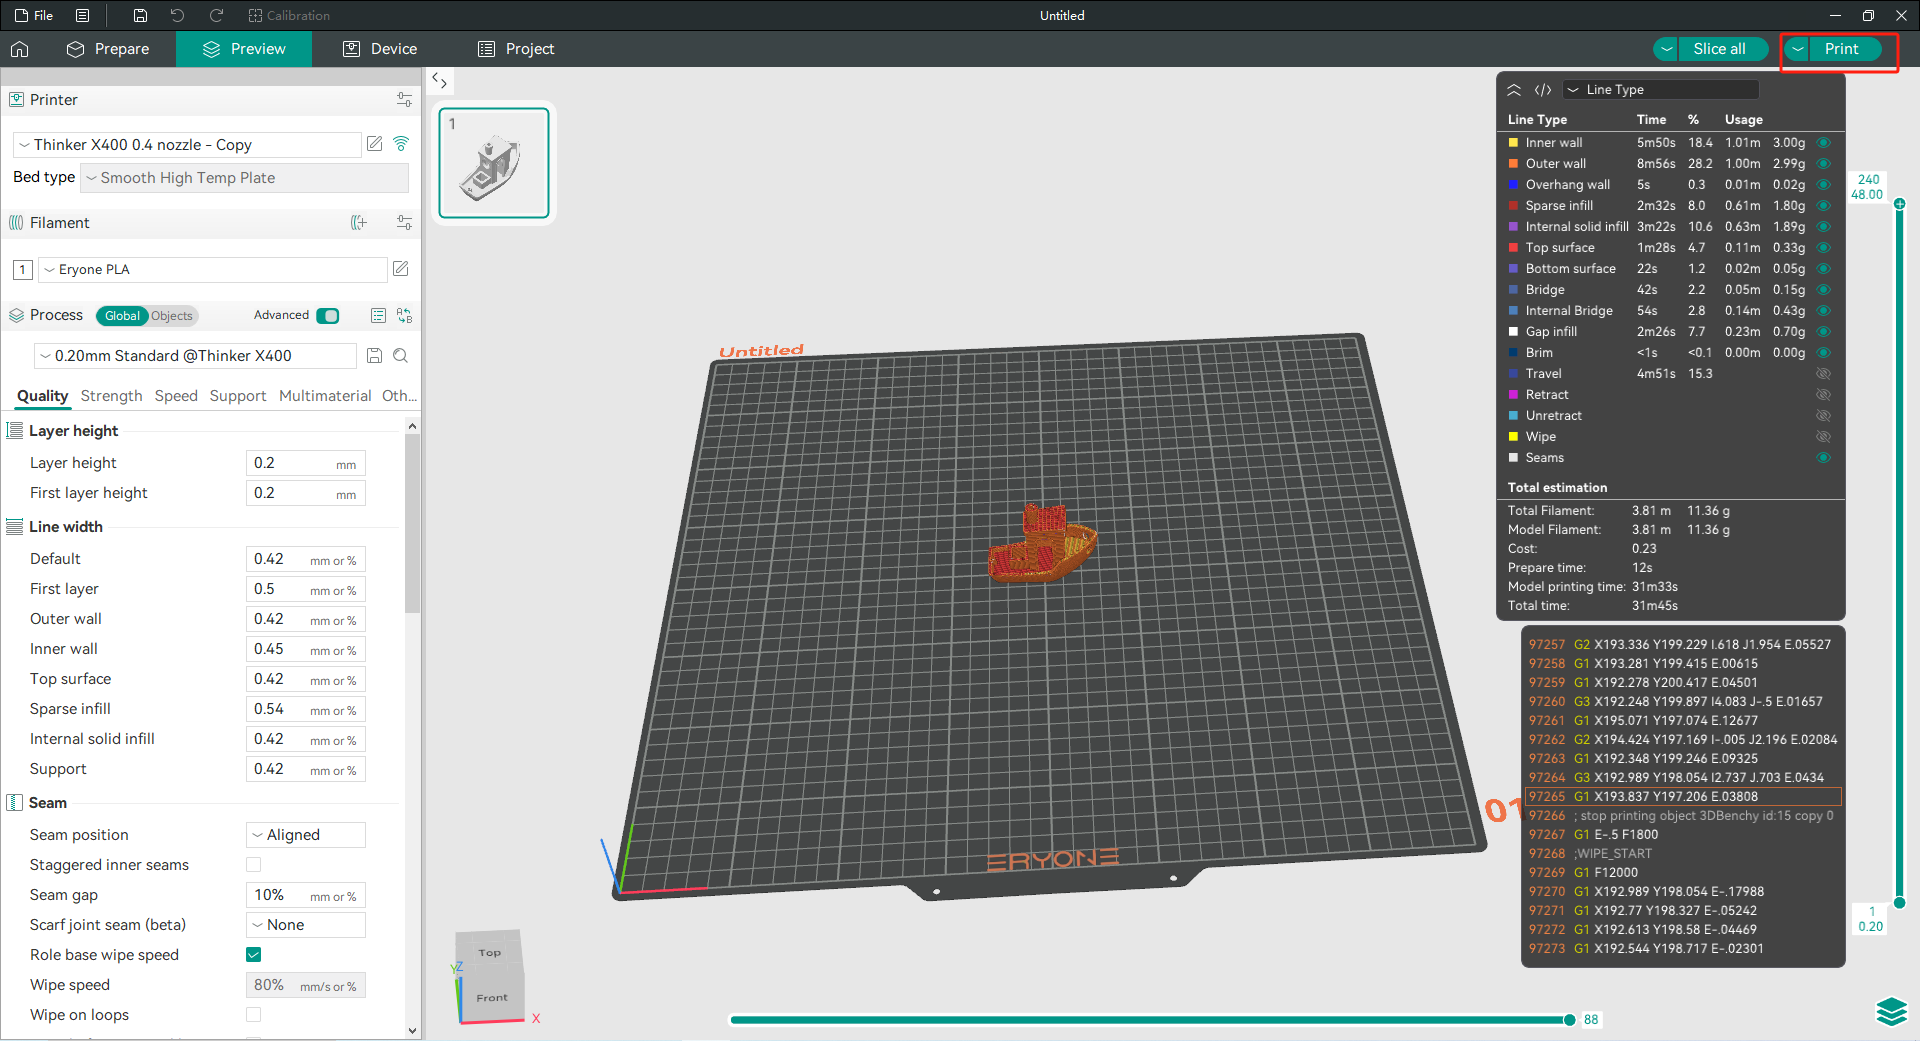
In a LAN environment, the slicing software Orca-Slicer can send sliced files directly to the printer via IP address.
The procedure is as follows:
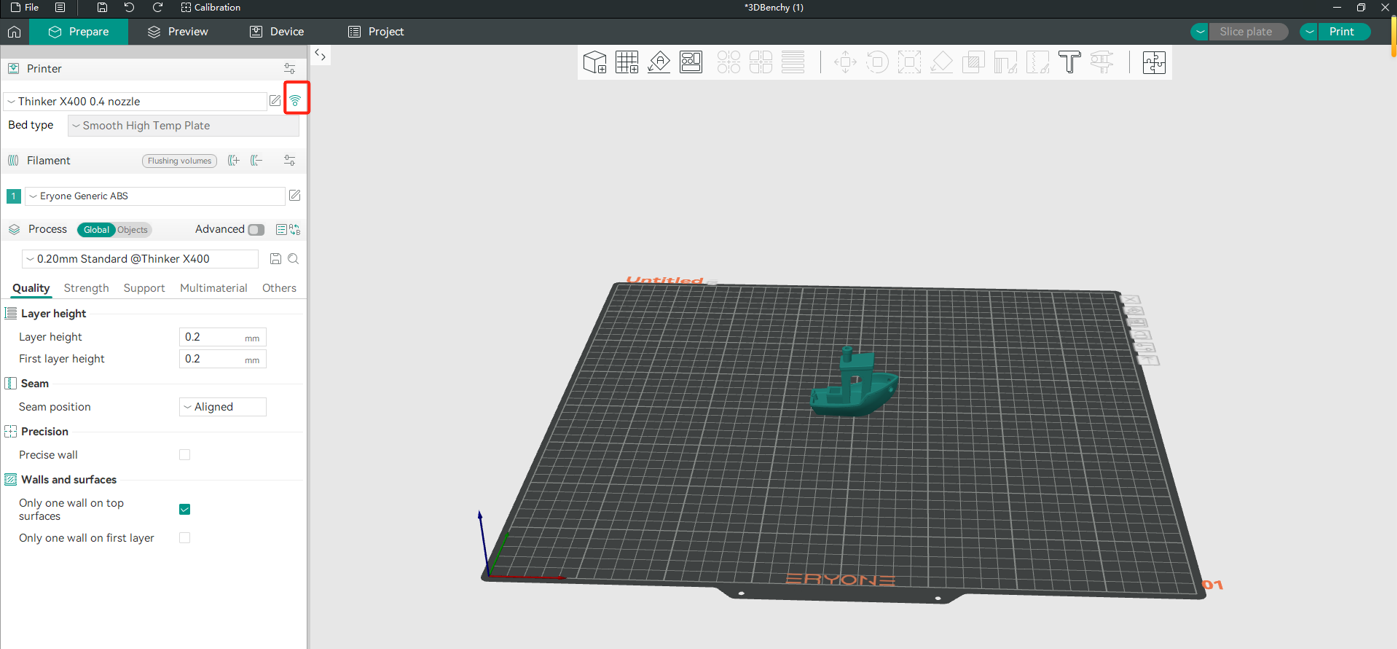
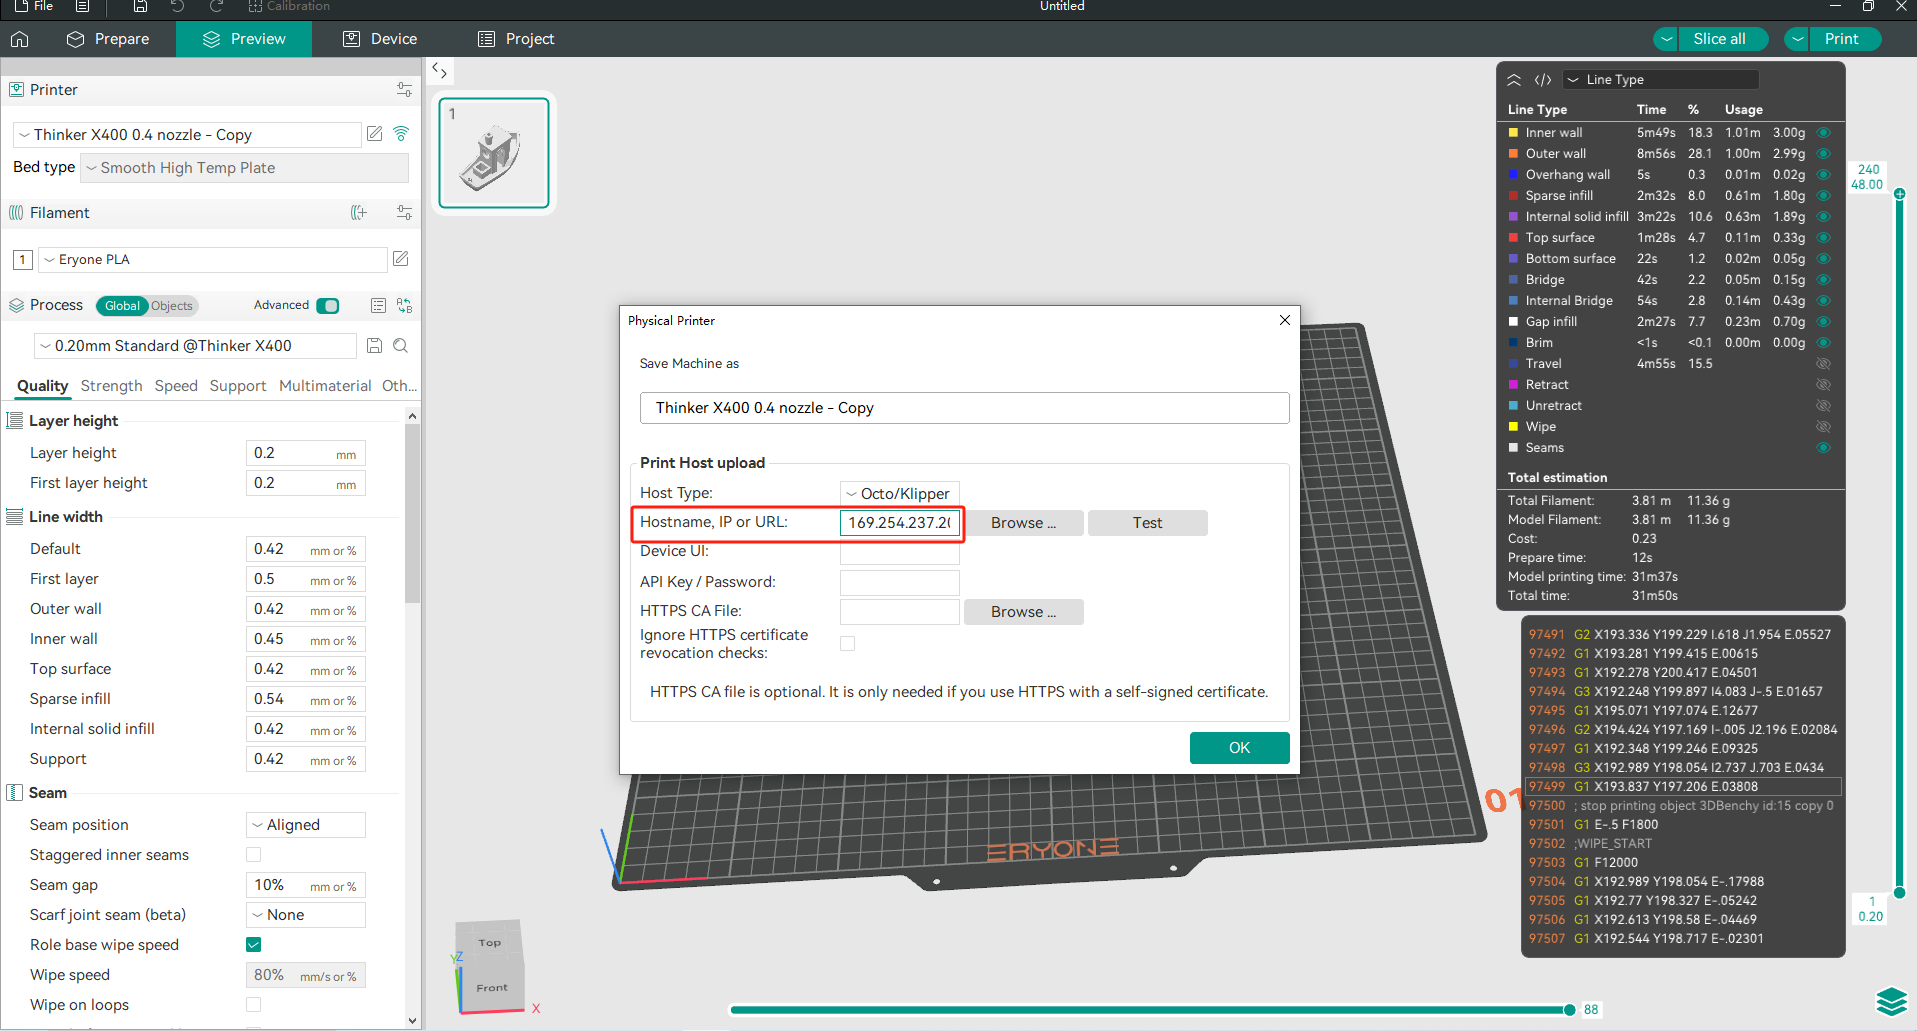
1.Import the 3D model, set the parameters and click the Wi-Fi button, and enter the IP address of the printer in the IP address field.

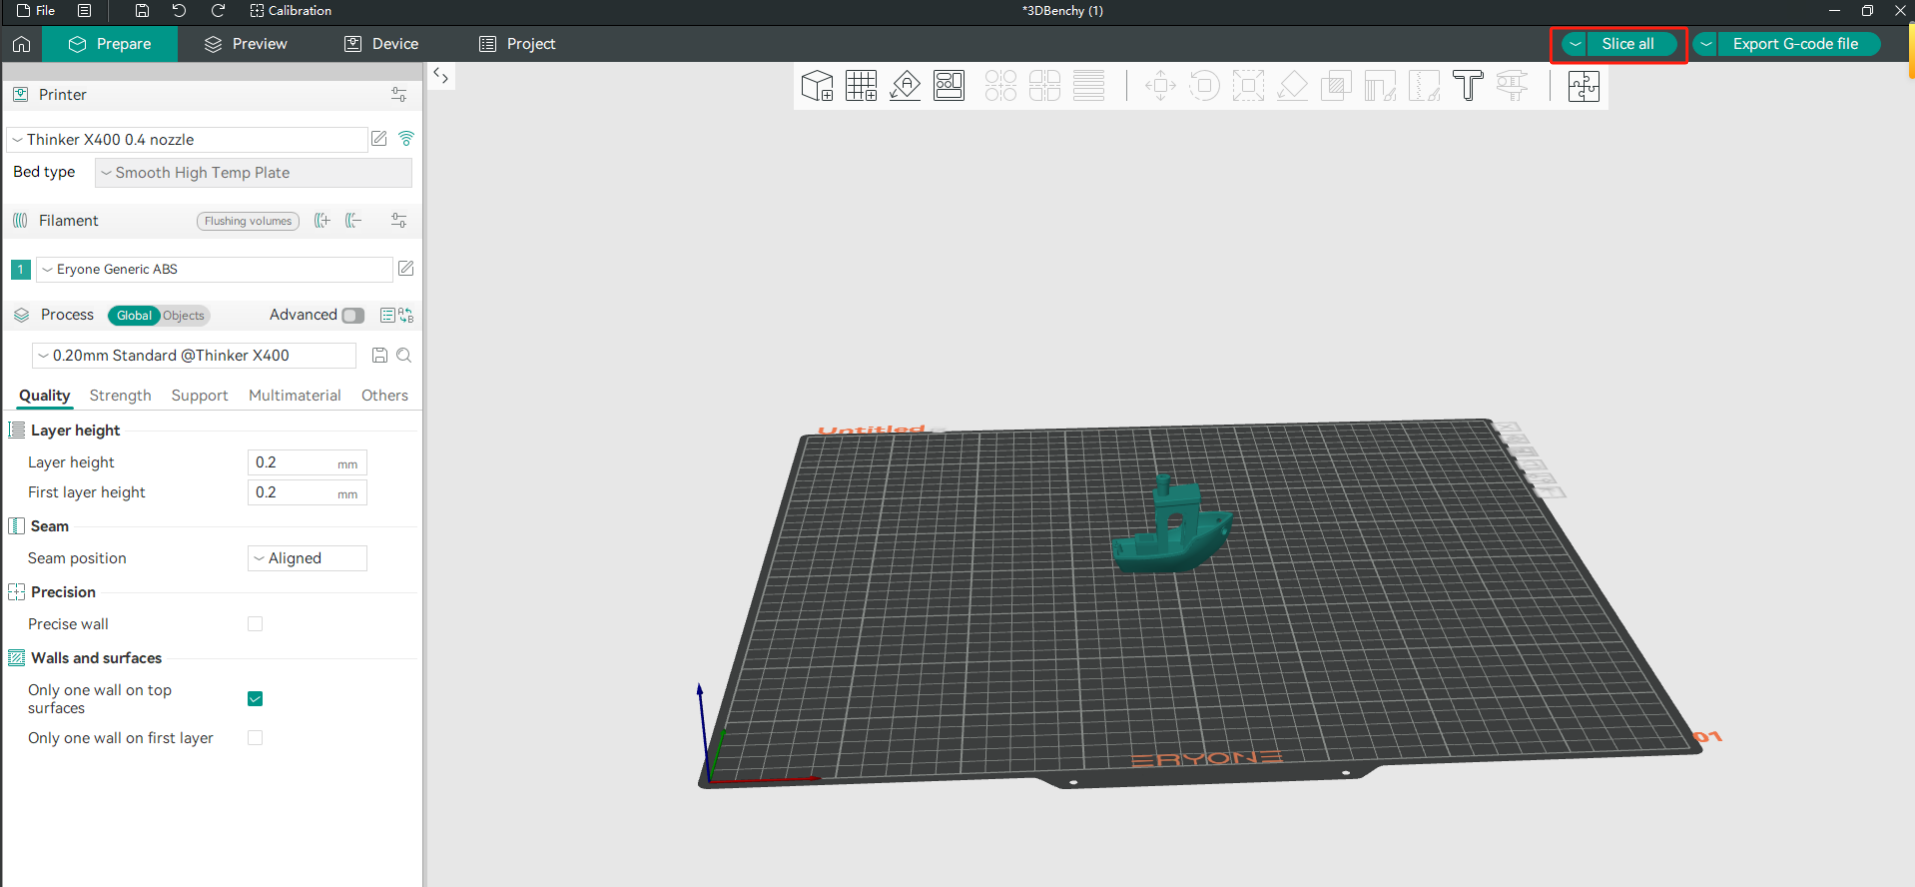
2.Click the Slice button
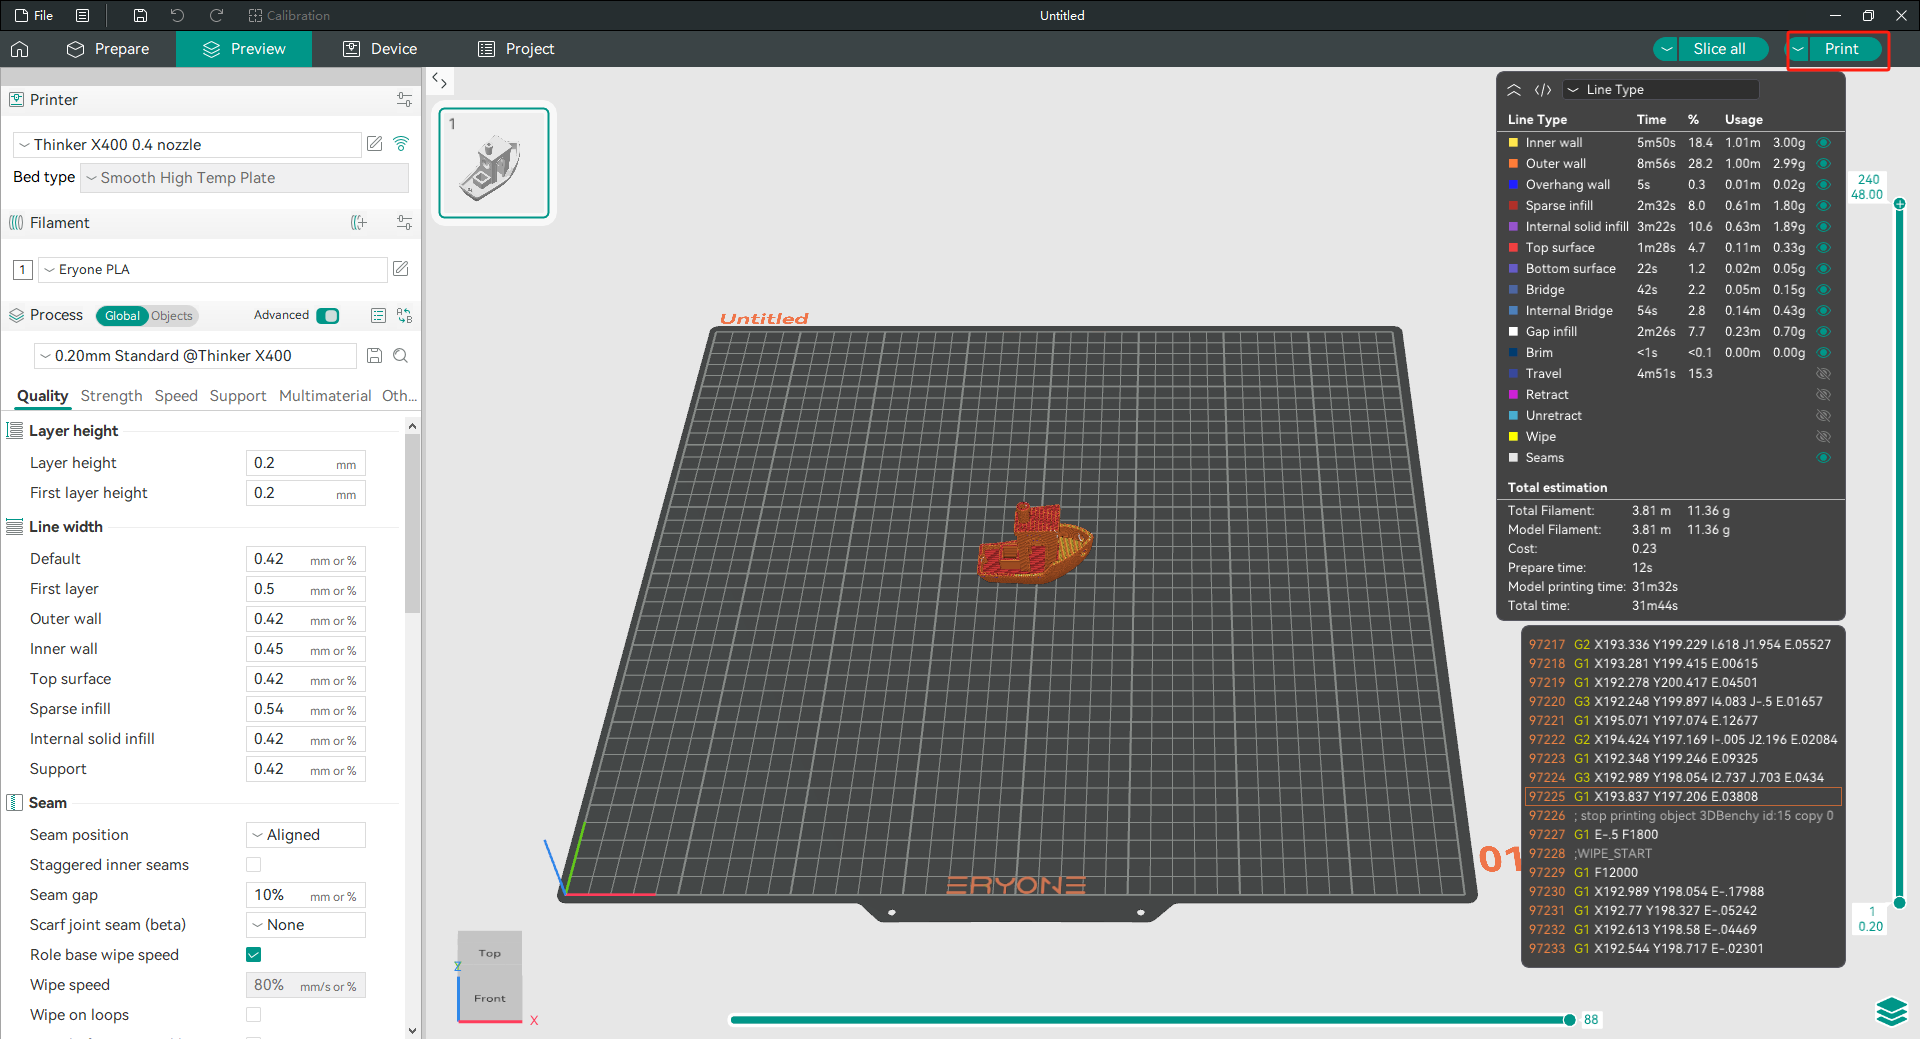
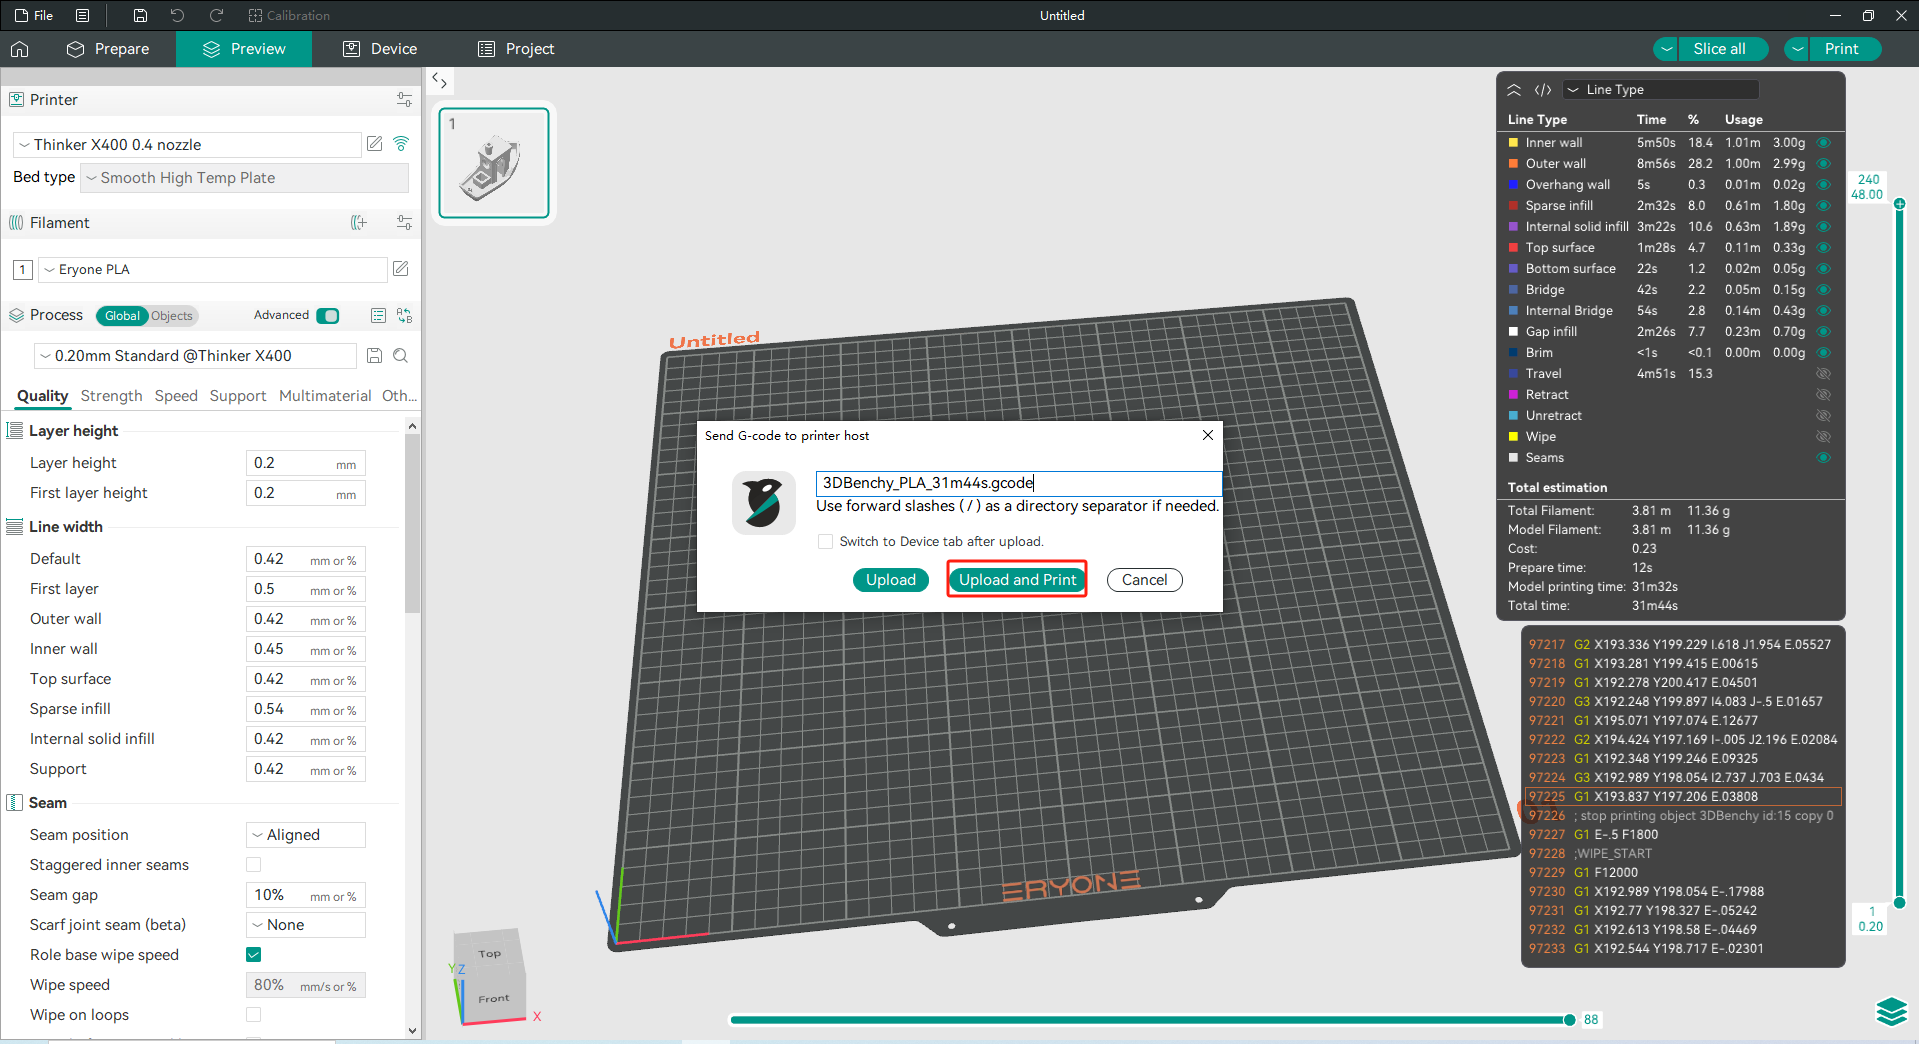
3.Click on the Print button after slicing the model and select “Upload and Print” in the pop-up window. The file will be sent to the printer, and printing will begin.
5.Using a computer to print directly
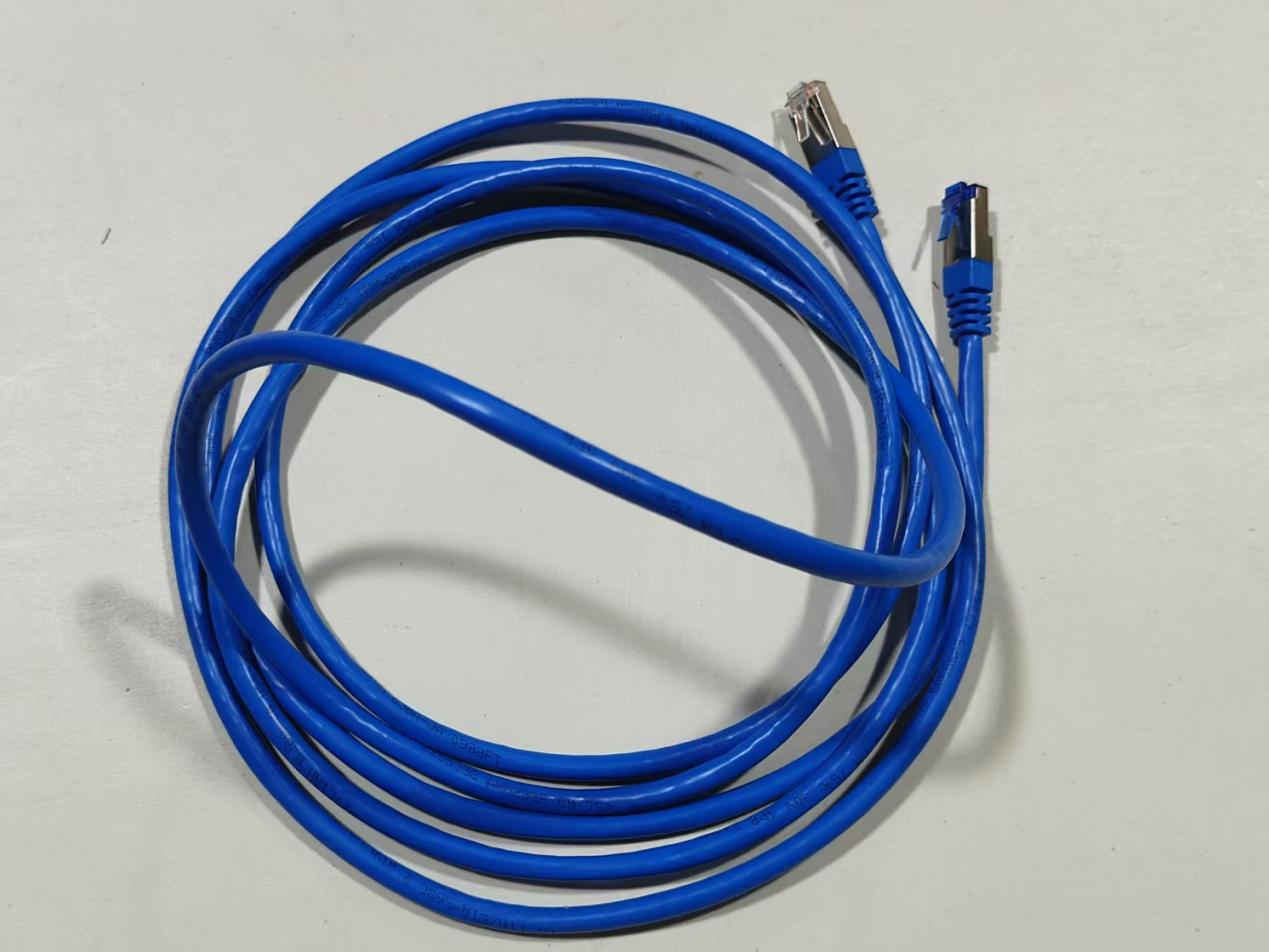
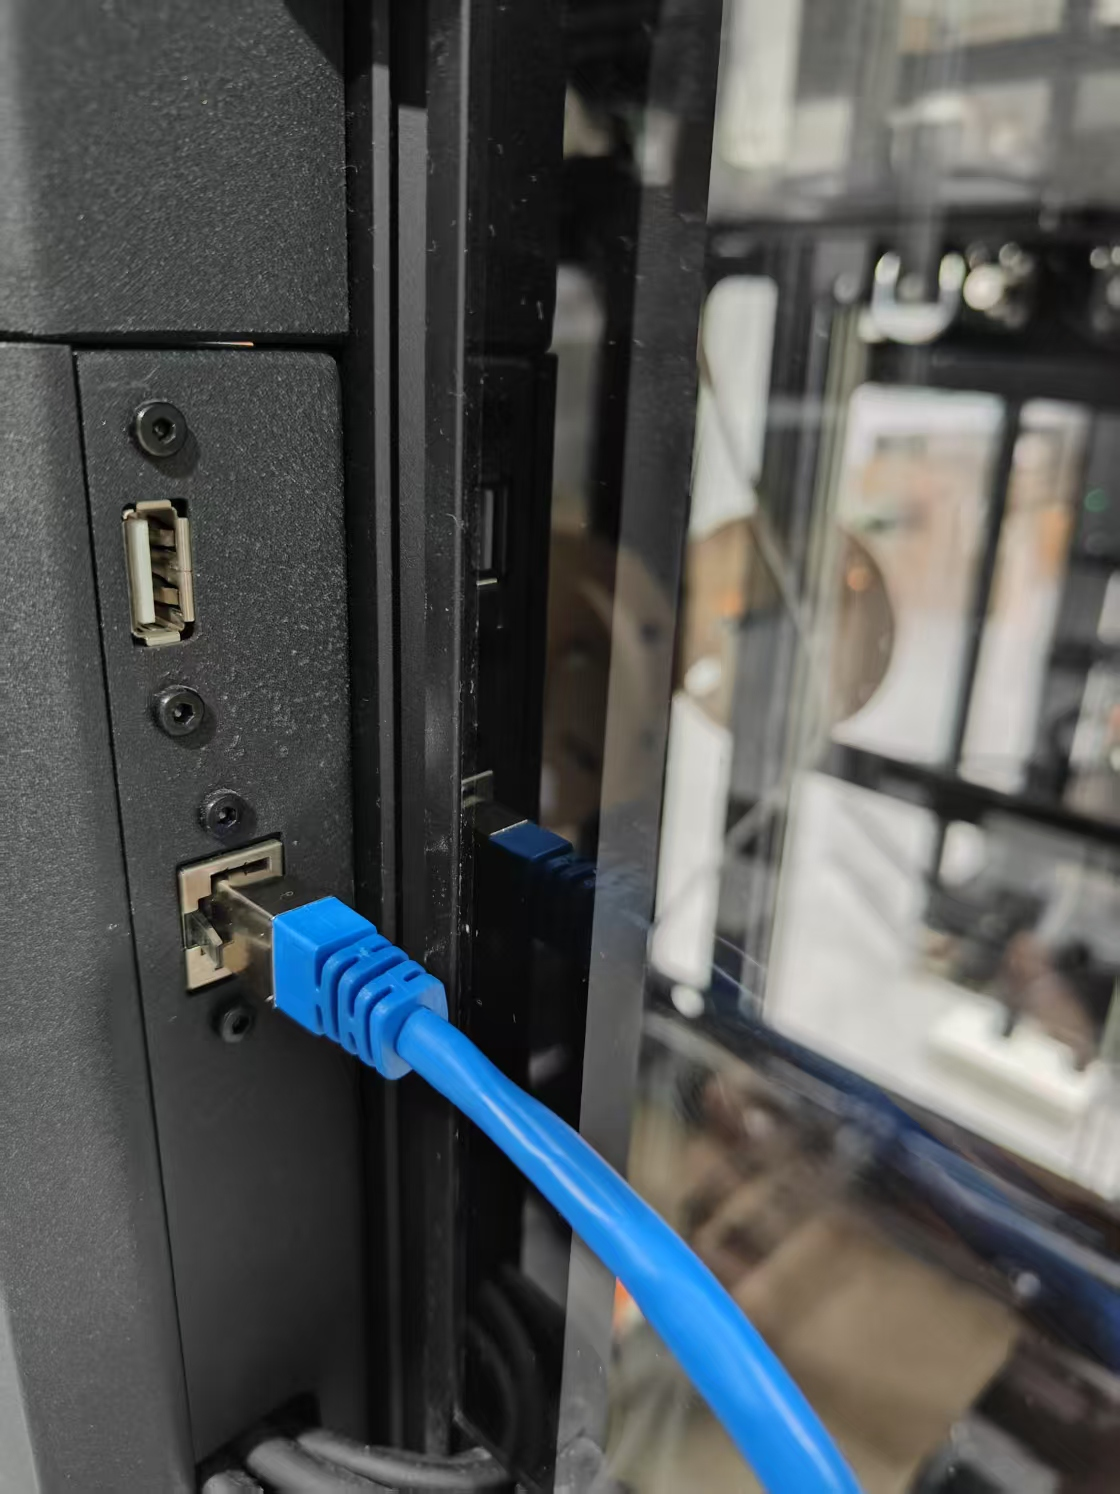
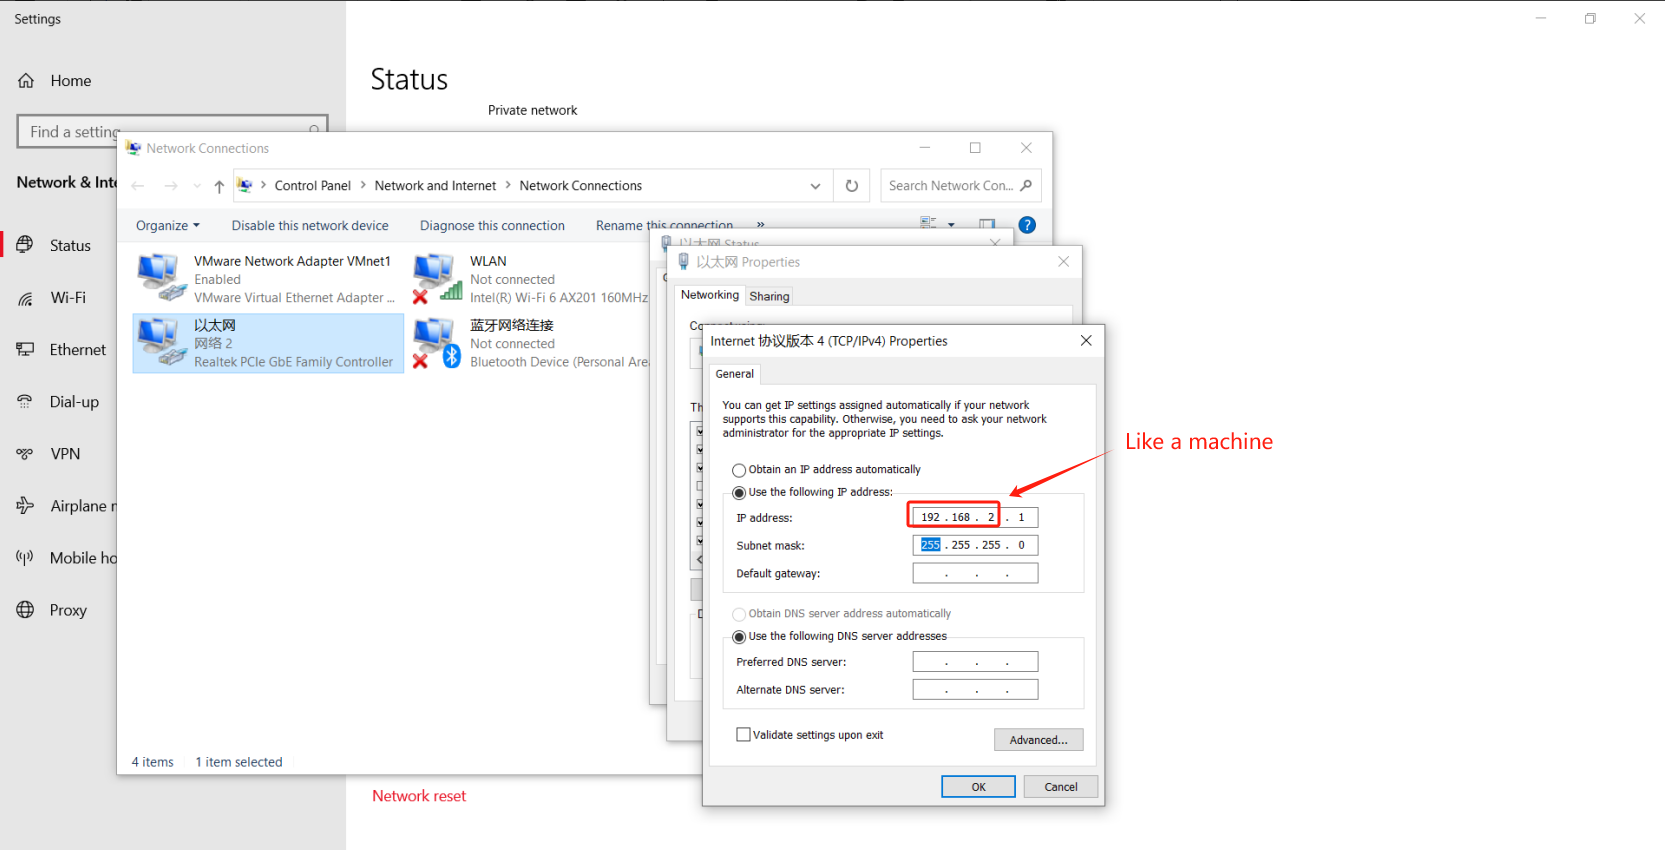
If the printer is not in a LAN environment, you can also choose to use the direct plug a cable into the computer and the printer, and then send the model to the printer through the IP address.
The procedure is as follows.
1.Turn on the printer
2.Prepare a cable and plug both ends into the computer and the printer.
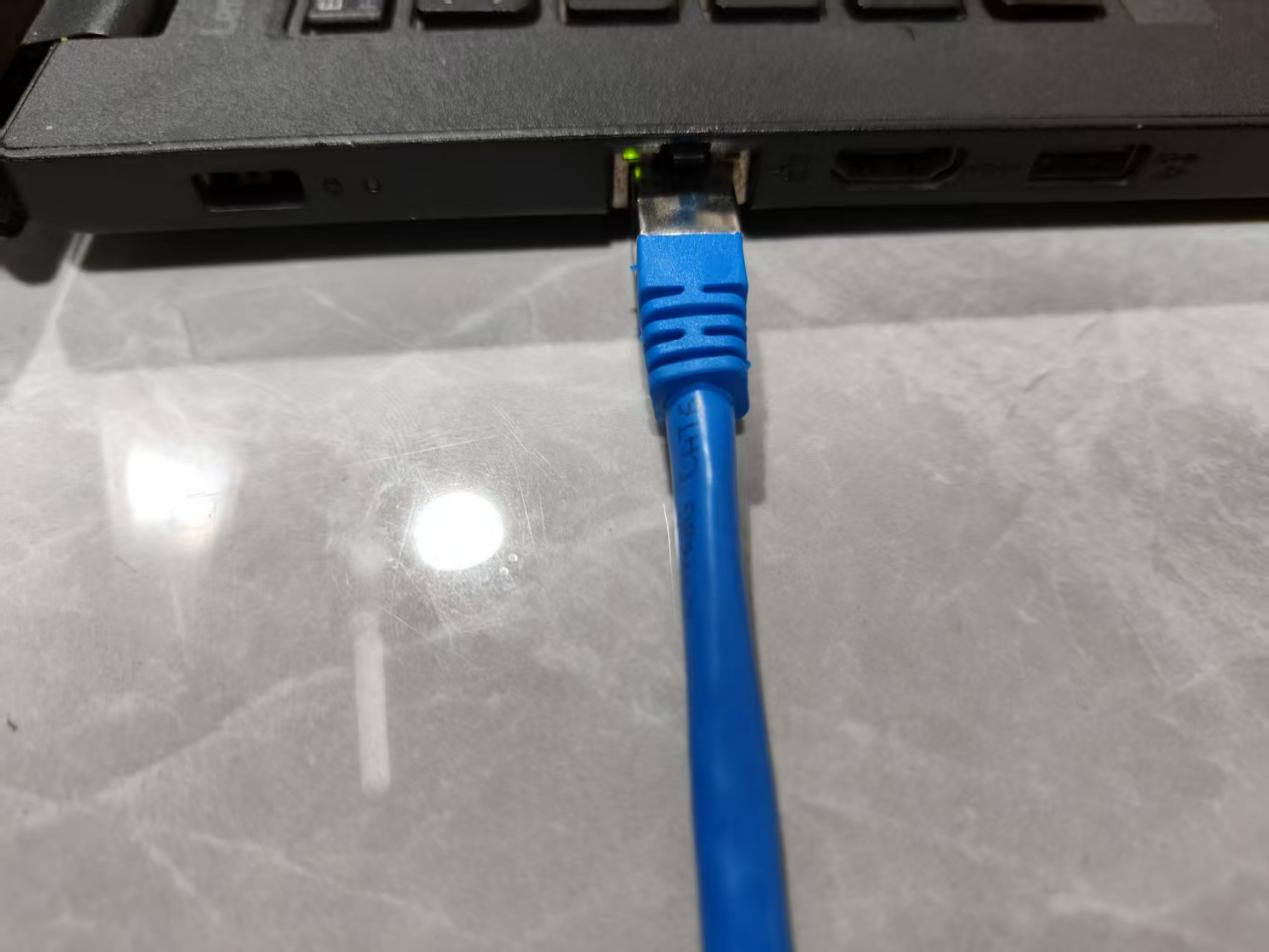
3.The printer will be assigned an IP address, and you need to change the IP address of your computer to be in the same network segment as the IP of the printer.
4.Open Orca-Slicer, import the model file and enter the IP address of the machine.
5.Parameterize and slice
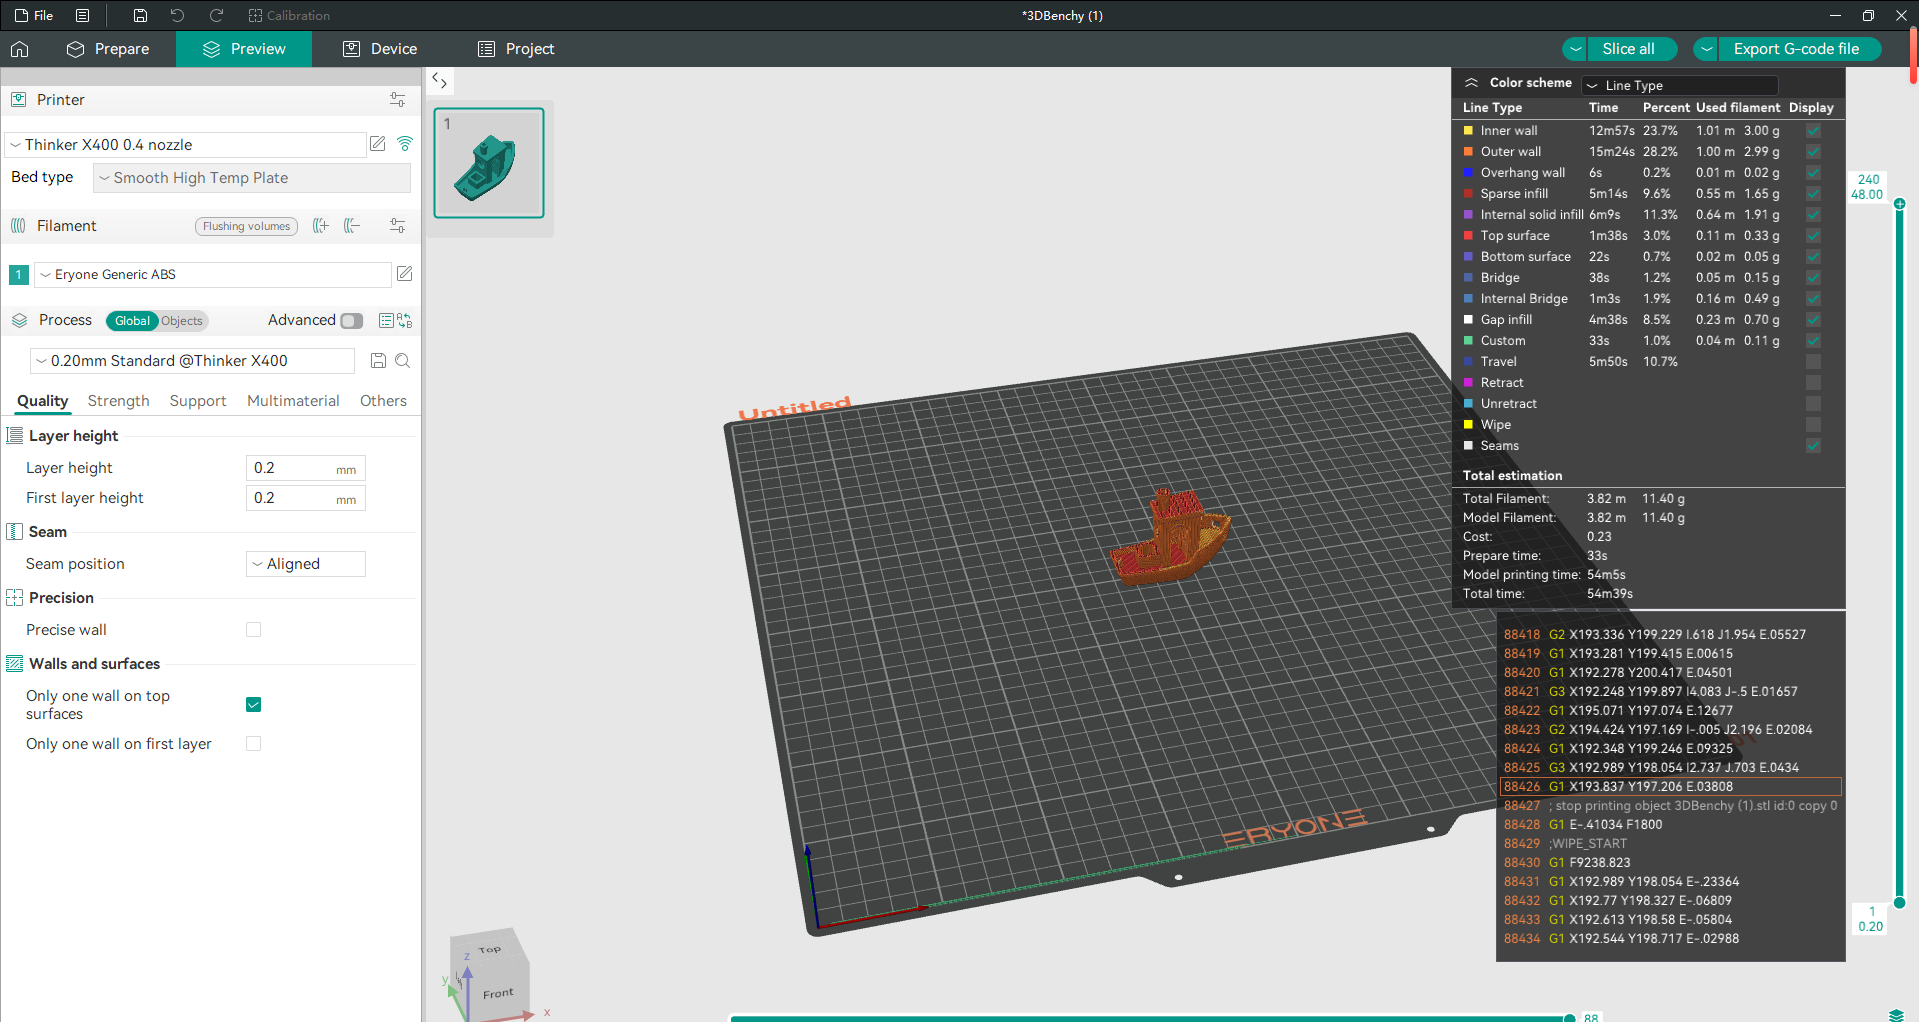
Just click to upload and print the model.
Note:
The small fan next to the heat sink will be switched off when the nozzle temperature falls below 42°C.
The fan in the activated carbon filter box will be switched off when the temperature of the heat bed falls below 45°.
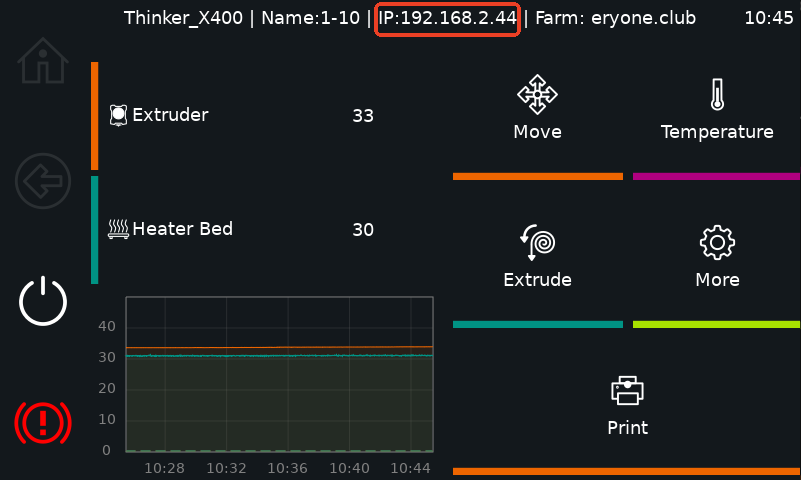
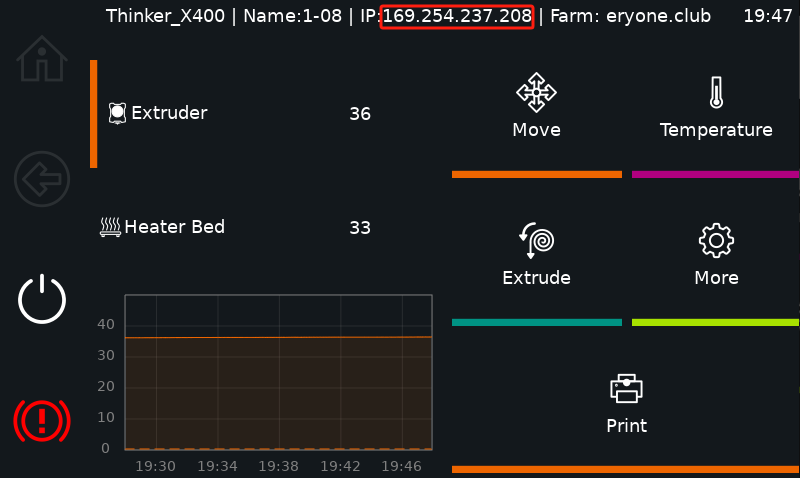
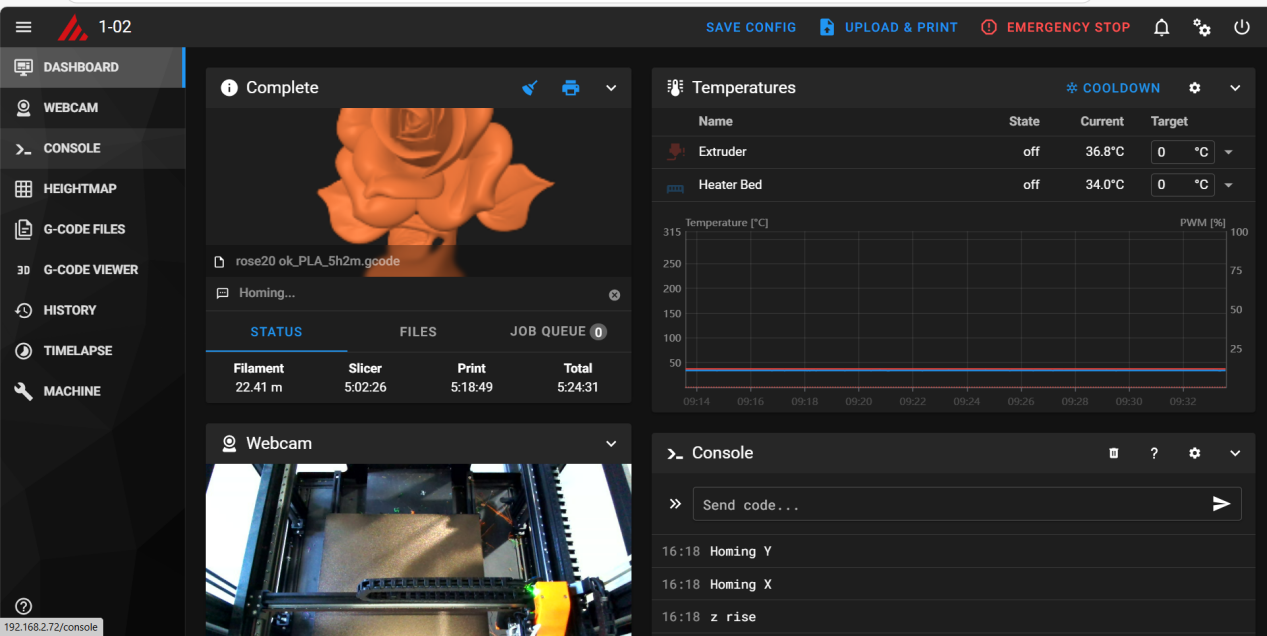
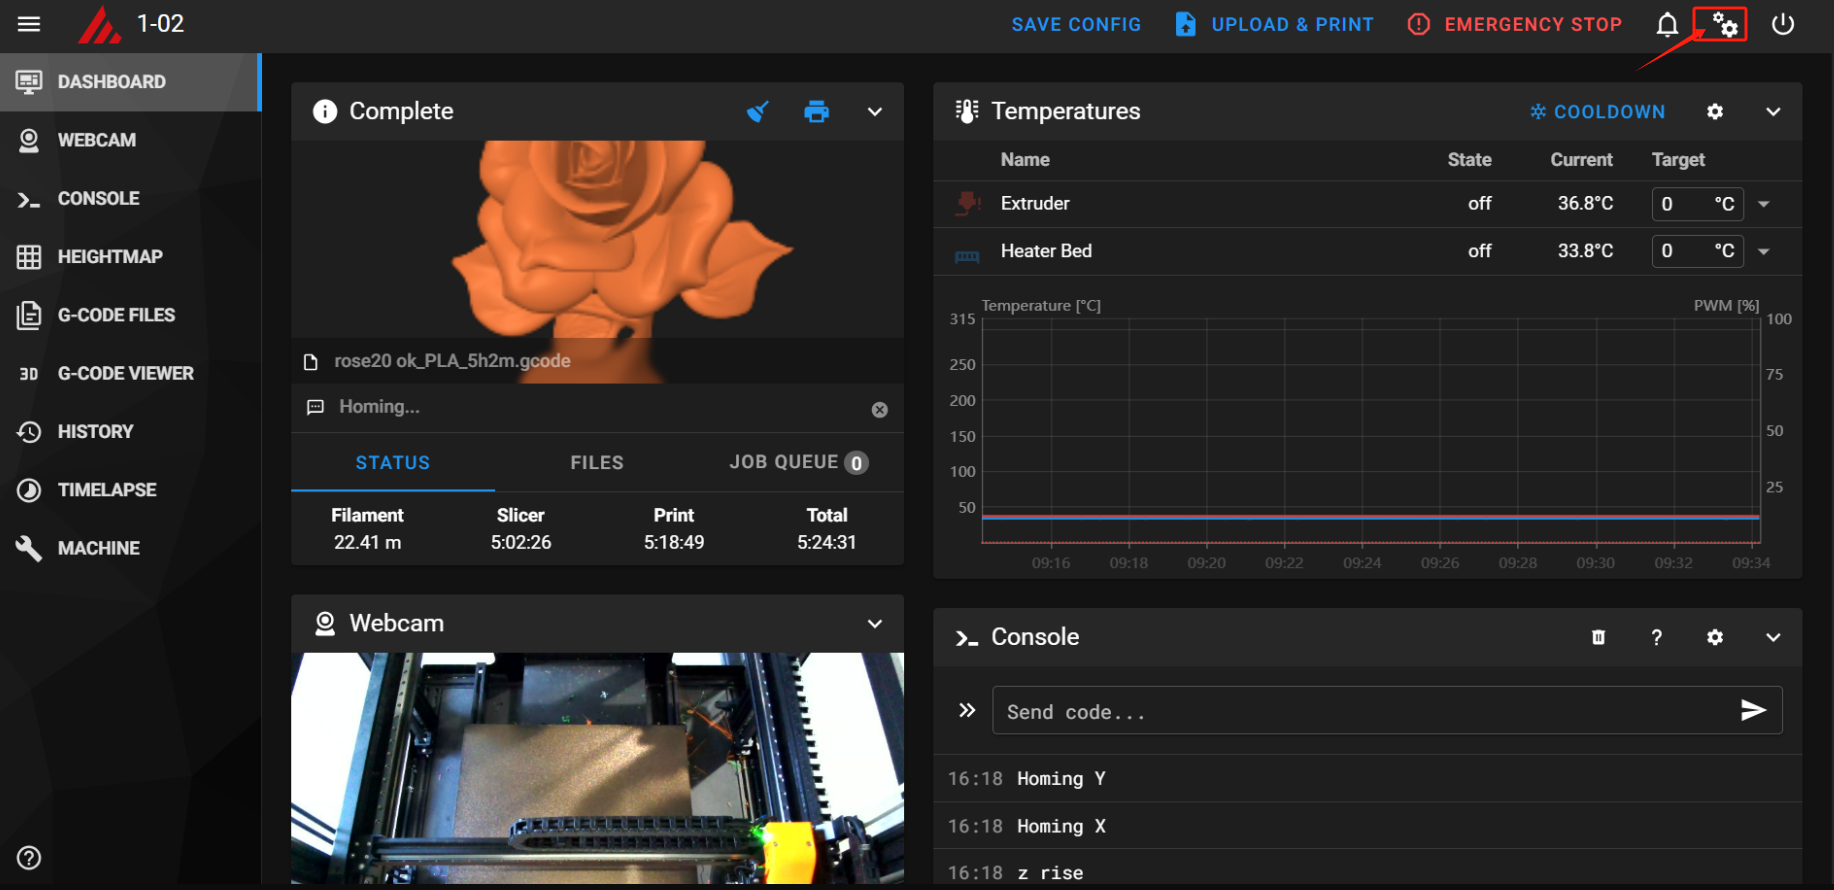
¶ Remote Operation
When your printer is on a LAN with your PC/mobile, you can enter the IP address of the printer on your PC/mobile to remotely view the printer's status information and send commands to operate the printer.
6.1 Time-lapse Photography
Turning on time-lapse photography Procedure:
- Click on Settings
6.2 Just click on Time-lapse and enable it.
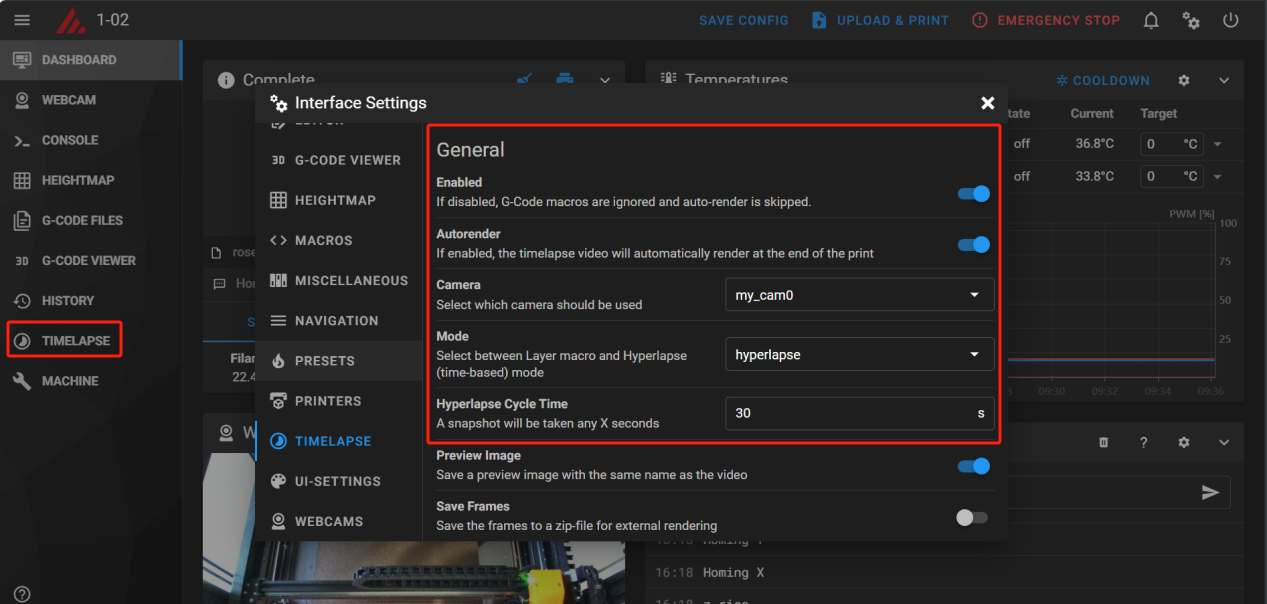
Suggestion: one 40-second snap for documents up to 24 hours old, one 80-second snap for documents up to 48 hours old, and so on.